
Unlocking Microscopic Worlds: A Comprehensive Guide to 49mm Macro Lenses
The world of macro photography offers a fascinating glimpse into details often unseen by the naked eye. A key tool for exploring this realm is the macro lens, and among the various sizes available, the 49mm macro lens stands out for its versatility and compatibility with a wide range of camera systems. This article provides a comprehensive guide to understanding, selecting, and effectively using a 49mm macro lens to capture stunning close-up images.
Whether you’re a seasoned photographer or just starting your journey into macro photography, understanding the nuances of a 49mm macro lens can significantly enhance your ability to capture incredible detail. This guide will cover everything from the technical specifications and benefits of a 49mm macro lens to practical tips and techniques for achieving professional-quality results.
What is a Macro Lens?
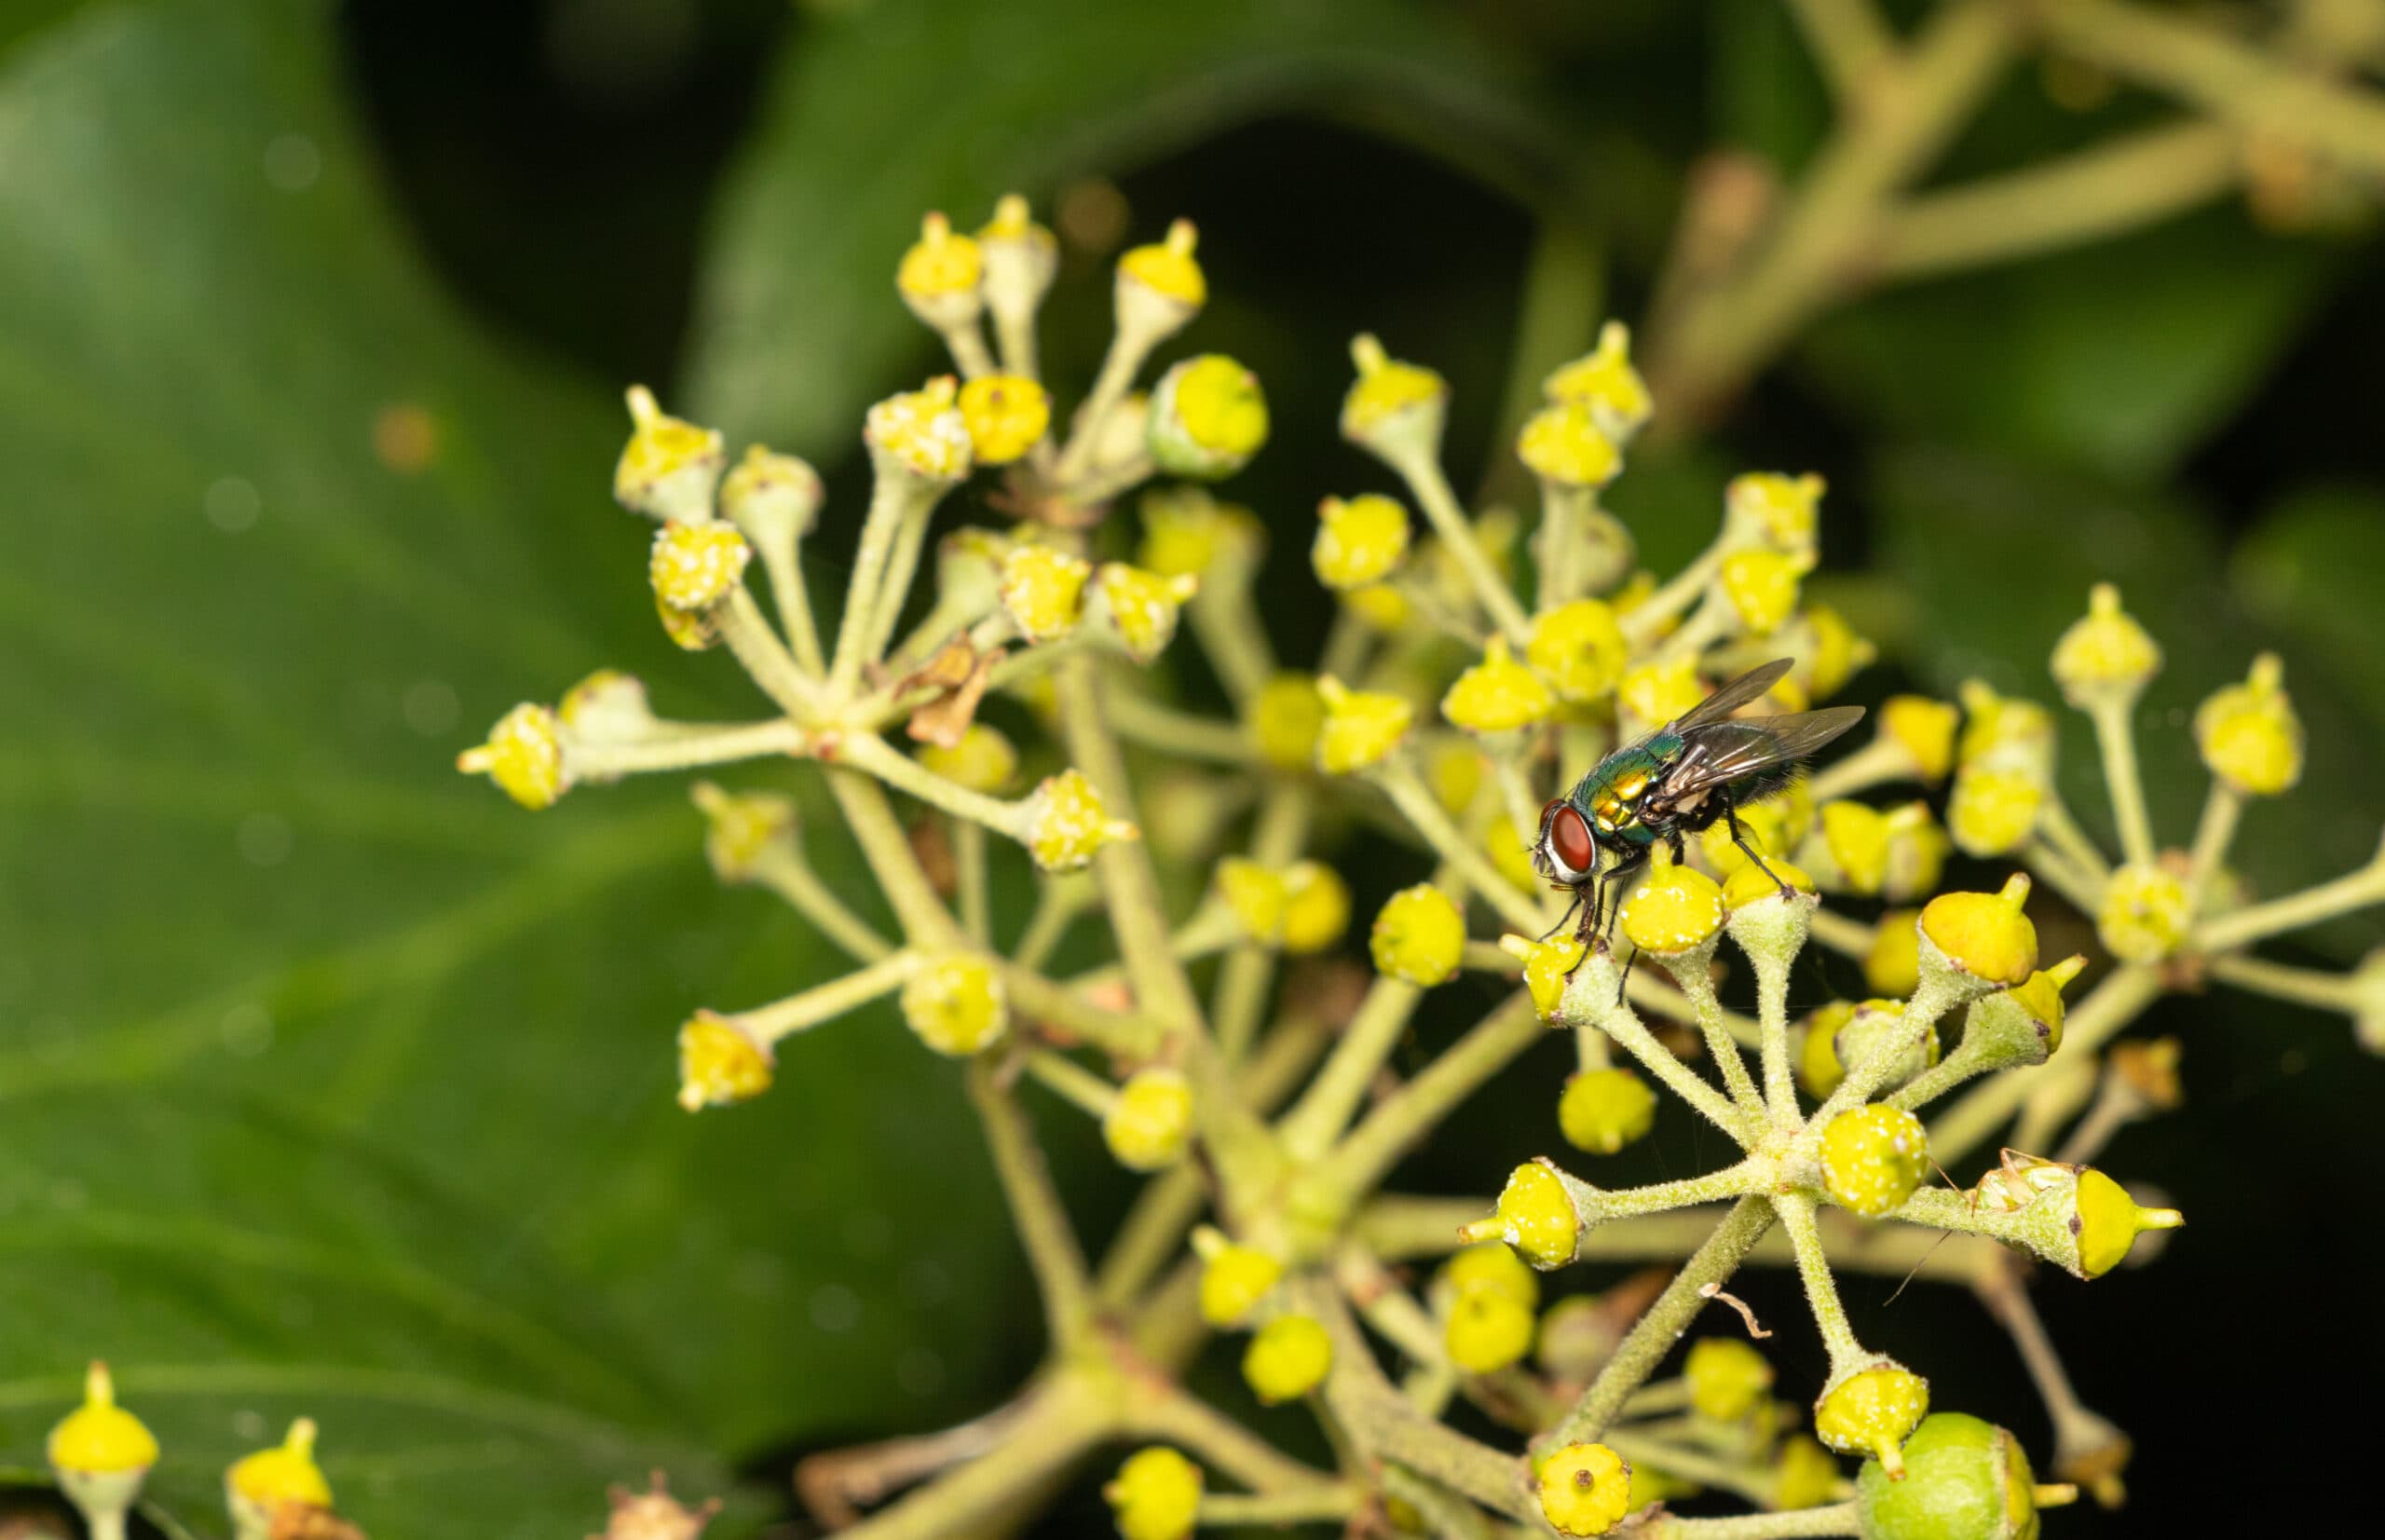
Before diving into the specifics of the 49mm macro lens, it’s crucial to understand what defines a macro lens in general. A true macro lens is capable of achieving a reproduction ratio of 1:1, meaning that the size of the subject on the camera’s sensor is the same as its actual size in real life. This allows for incredibly detailed and magnified images of small subjects like insects, flowers, and textures.
Many lenses are marketed as “macro,” but they may only offer a reproduction ratio of 1:2 or 1:4. While these lenses can still capture close-up images, they don’t provide the same level of magnification as a true macro lens. When choosing a macro lens, always check the reproduction ratio to ensure it meets your specific needs.
Why Choose a 49mm Macro Lens?
The 49mm designation refers to the filter thread size of the lens, not its focal length. A 49mm macro lens can come in various focal lengths, such as 50mm, 60mm, 90mm, or 105mm. The filter thread size simply indicates the diameter of the filter that can be attached to the front of the lens. The popularity of 49mm filter threads stems from its common usage across many lenses, making filters and accessories more readily available and often more affordable.
Choosing a 49mm macro lens offers several advantages:
- Versatility: The 49mm filter thread size is widely compatible, allowing you to use a variety of filters and accessories.
- Availability: Due to its popularity, finding a 49mm macro lens from various manufacturers is relatively easy.
- Cost-Effectiveness: Filters and accessories for 49mm lenses are often more affordable than those for less common sizes.
Focal Length Considerations for 49mm Macro Lenses
While the 49mm refers to the filter thread, the focal length of the lens plays a crucial role in determining its suitability for different macro photography applications. Here’s a breakdown of common focal lengths and their typical uses:
- 50mm to 60mm Macro Lenses: These are often considered “standard” macro lenses. They are versatile and suitable for a wide range of subjects, including flowers, insects, and small objects. They require you to get relatively close to your subject, which can be challenging when photographing live insects.
- 90mm to 105mm Macro Lenses: These longer focal lengths provide more working distance, making them ideal for photographing skittish subjects like insects and butterflies. The increased distance also helps to minimize shadows and allows for more natural lighting.
- 150mm to 200mm Macro Lenses: These lenses offer even greater working distance, making them suitable for photographing extremely shy or delicate subjects. They also provide a shallower depth of field, which can be used to create beautiful bokeh and isolate the subject from the background.
Key Features to Look for in a 49mm Macro Lens
When selecting a 49mm macro lens, consider the following features:
- Reproduction Ratio: Ensure the lens offers a 1:1 reproduction ratio for true macro capabilities.
- Focal Length: Choose a focal length that suits the types of subjects you plan to photograph.
- Aperture: A wide maximum aperture (e.g., f/2.8 or f/3.5) allows for more light to enter the lens, which is beneficial in low-light conditions and helps to create a shallow depth of field.
- Image Stabilization: Image stabilization (IS) or vibration reduction (VR) can help to reduce camera shake, especially when shooting handheld at high magnifications.
- Autofocus: While manual focus is often preferred for macro photography, a good autofocus system can be helpful for quickly acquiring focus on stationary subjects.
- Build Quality: Look for a lens with a robust build quality that can withstand the rigors of outdoor photography.
Essential Equipment for Macro Photography with a 49mm Macro Lens
To get the most out of your 49mm macro lens, consider investing in the following equipment:
- Tripod: A sturdy tripod is essential for maintaining stability and sharpness, especially at high magnifications.
- Macro Focusing Rail: A focusing rail allows for precise adjustments to the focus point, which is crucial for achieving sharp focus in macro photography.
- External Flash: An external flash can provide additional light and help to freeze motion, especially when photographing moving subjects like insects. Consider a ring flash or twin flash setup for even lighting.
- Diffuser: A diffuser softens the light from the flash, reducing harsh shadows and creating a more natural-looking image.
- Reflector: A reflector can be used to bounce light onto the subject, filling in shadows and adding highlights.
- Remote Shutter Release: A remote shutter release helps to prevent camera shake when taking long exposures.
Tips and Techniques for Using a 49mm Macro Lens
Mastering macro photography with a 49mm macro lens requires practice and attention to detail. Here are some tips and techniques to help you achieve stunning results:
- Focus Carefully: Achieving sharp focus is critical in macro photography due to the shallow depth of field. Use manual focus and a focusing rail for precise adjustments.
- Control Your Depth of Field: Experiment with different aperture settings to control the depth of field. A wider aperture (e.g., f/2.8) will create a shallower depth of field, while a narrower aperture (e.g., f/8 or f/11) will increase the depth of field.
- Use Proper Lighting: Adequate lighting is essential for capturing details and creating visually appealing images. Use a combination of natural light, reflectors, and external flashes to achieve the desired effect.
- Stabilize Your Camera: Use a tripod and remote shutter release to minimize camera shake and ensure sharp images.
- Be Patient: Macro photography often requires patience and persistence. Take your time, experiment with different settings, and don’t be afraid to try new things.
- Consider the Background: A clean and uncluttered background can help to isolate the subject and draw attention to its details. Use a wide aperture to blur the background or choose a location with a naturally pleasing background.
- Shoot in RAW Format: Shooting in RAW format allows for greater flexibility in post-processing, enabling you to adjust exposure, white balance, and other settings without sacrificing image quality.
Post-Processing Tips for Macro Photography
Post-processing is an essential part of the macro photography workflow. Here are some tips for enhancing your macro images in post-processing software like Adobe Lightroom or Photoshop:
- Adjust Exposure and Contrast: Fine-tune the exposure and contrast to bring out the details in your subject.
- Correct White Balance: Ensure the white balance is accurate to create natural-looking colors.
- Sharpening: Apply sharpening to enhance the details and textures in your image. Be careful not to over-sharpen, as this can introduce artifacts.
- Noise Reduction: Reduce noise, especially in images shot at high ISO settings.
- Remove Blemishes: Use the spot removal tool to remove any dust spots or blemishes from your image.
- Color Correction: Adjust the colors to enhance the mood and atmosphere of your image.
Popular 49mm Macro Lenses on the Market
While the 49mm designation refers to the filter thread, many macro lenses from different manufacturers utilize this common size. Here are a few examples of macro lenses, which may or may not have a 49mm filter thread, but are popular choices for macro photography:
- Sony FE 90mm f/2.8 Macro G OSS: A popular choice for Sony full-frame mirrorless cameras, offering excellent image quality and a useful working distance.
- Canon EF 100mm f/2.8L Macro IS USM: A high-performance macro lens for Canon DSLR cameras, featuring image stabilization and fast autofocus.
- Nikon AF-S VR Micro-Nikkor 105mm f/2.8G IF-ED: A well-regarded macro lens for Nikon DSLR cameras, offering vibration reduction and exceptional sharpness.
- Olympus M.Zuiko Digital ED 60mm f/2.8 Macro: A compact and lightweight macro lens for Micro Four Thirds cameras, providing excellent image quality and a 1:1 reproduction ratio.
Before purchasing, always check the filter thread size to ensure compatibility with your existing filters and accessories. Also, consider factors like focal length, aperture, and image stabilization to choose the lens that best suits your needs.
Conclusion
A 49mm macro lens opens up a world of possibilities for capturing stunning close-up images. By understanding the technical aspects of macro lenses, choosing the right equipment, and mastering essential techniques, you can unlock the beauty and detail that lies hidden in the microscopic world. Whether you’re photographing insects, flowers, or textures, a 49mm macro lens can help you to create breathtaking images that showcase the wonders of the natural world. Remember to consider your subject, lighting, and composition to make the most of your macro photography journey. [See also: Best Lighting for Macro Photography] and [See also: Advanced Macro Photography Techniques]
