Unlocking Artistic Expression: A Comprehensive Guide to Natural Henna Tattoo Kits
The allure of body art is timeless, and among its many forms, the henna tattoo stands out for its temporary nature and rich cultural history. For those seeking to explore this art form, natural henna tattoo kits offer a convenient and accessible way to create beautiful designs. This guide provides a comprehensive overview of natural henna tattoo kits, covering everything from what to look for in a kit to how to apply henna safely and effectively.
What is Natural Henna?
Before diving into the world of natural henna tattoo kits, it’s crucial to understand what natural henna actually is. Natural henna is a dye derived from the leaves of the henna plant (Lawsonia inermis). When applied to the skin, it stains a reddish-brown color. The key word here is natural. Many commercially available “henna” products contain chemical additives, particularly para-phenylenediamine (PPD), which can cause severe allergic reactions and permanent scarring. True natural henna is safe for most people, though a patch test is always recommended.
Why Choose Natural Henna Tattoo Kits?
There are several reasons why opting for natural henna tattoo kits is a smart choice:
- Safety: As mentioned earlier, natural henna is generally safe when used correctly. Natural henna tattoo kits that specify the ingredients are more likely to be free from harmful chemicals.
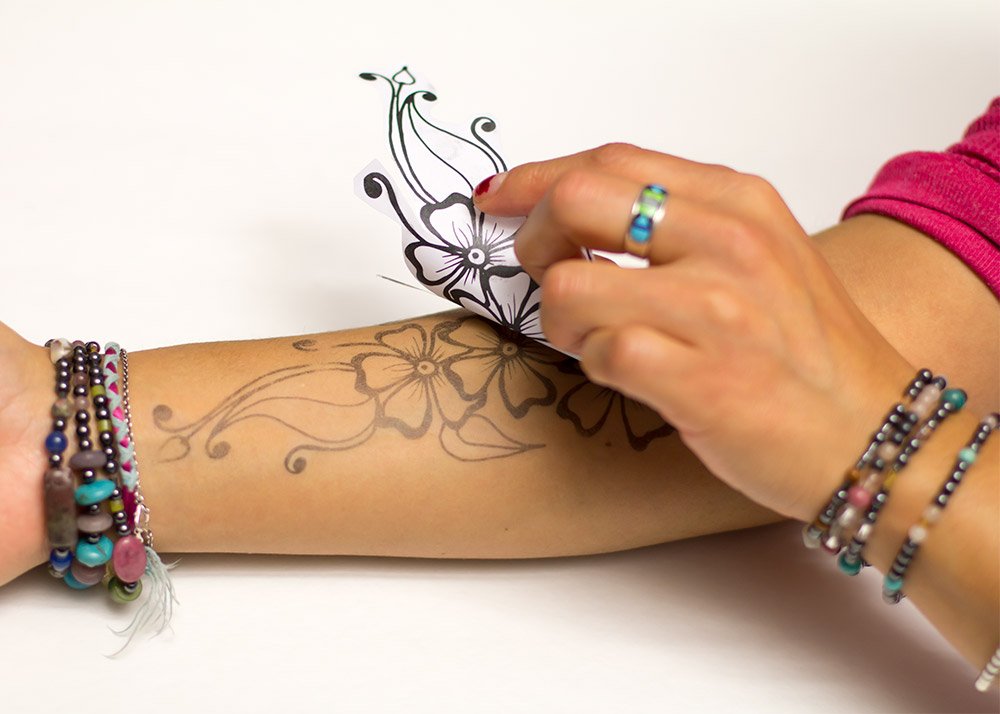
- Convenience: Natural henna tattoo kits come with everything you need to create your own henna designs, including the henna paste, applicator bottles or cones, stencils (optional), and instructions.
- Cost-effectiveness: Purchasing a natural henna tattoo kit can be more economical than going to a professional henna artist, especially if you plan on creating multiple designs.
- Creative Control: Natural henna tattoo kits allow you to unleash your creativity and experiment with different designs and patterns.
What to Look for in a Natural Henna Tattoo Kit
Not all natural henna tattoo kits are created equal. Here’s what to consider when choosing a kit:
Ingredients
This is the most important factor. The kit should clearly list all ingredients. Look for keywords like “natural henna powder,” “henna leaves,” “essential oils” (such as lavender or tea tree oil), and “sugar.” Avoid kits that list PPD, chemical dyes, or other synthetic additives. A good kit will often detail the specific origin of the henna powder.
Henna Powder Quality
The quality of the henna powder affects the stain color and longevity. Look for finely sifted henna powder that is fresh and has a vibrant green or brownish-green color. Avoid henna powder that is old, lumpy, or has a musty odor. Consider purchasing kits that offer a guarantee of freshness.
Applicator Type
Natural henna tattoo kits typically include applicator bottles or cones. Bottles are easier to fill and clean, while cones offer more precision for intricate designs. Consider your skill level and the type of designs you want to create when choosing an applicator. Some kits provide both options.
Stencils (Optional)
If you’re a beginner, stencils can be a helpful tool for creating clean and precise designs. Natural henna tattoo kits with stencils often include a variety of patterns to choose from. However, remember that relying solely on stencils may limit your creative expression.
Instructions
A clear and detailed instruction manual is essential, especially for first-time users. The instructions should cover everything from mixing the henna paste to aftercare tips. Look for kits that provide step-by-step instructions with illustrations or videos.
Preparing the Henna Paste
Most natural henna tattoo kits require you to mix the henna paste yourself. Here’s a general guide (always refer to the specific instructions included in your kit):
- Mix the henna powder: In a non-metallic bowl, combine the henna powder with warm water, lemon juice, or tea. The liquid helps release the dye from the henna leaves.
- Add essential oils: Add a few drops of essential oil, such as lavender or tea tree oil. These oils enhance the stain and provide a pleasant aroma.
- Add sugar: A small amount of sugar helps the henna paste adhere to the skin.
- Mix thoroughly: Stir the mixture until it forms a smooth, yogurt-like consistency. Avoid lumps.
- Let it rest: Cover the bowl with plastic wrap and let the henna paste rest for several hours (usually 4-12 hours) at room temperature. This allows the dye to release fully.
Applying the Henna
Once the henna paste is ready, it’s time to apply it to the skin:
- Clean the skin: Wash the area where you want to apply the henna with soap and water. Dry thoroughly.
- Apply the henna: Using the applicator bottle or cone, carefully apply the henna paste to the skin, following your desired design or using a stencil.
- Allow it to dry: Let the henna paste dry completely. This can take anywhere from 30 minutes to several hours. The longer the henna stays on the skin, the darker the stain will be.
- Seal the henna: To help the henna adhere to the skin and prevent it from cracking, you can apply a mixture of lemon juice and sugar over the dried henna.
- Remove the henna: Once the henna is completely dry, gently scrape it off the skin. Avoid washing the area with water for at least a few hours.
Aftercare
Proper aftercare is crucial for a long-lasting and vibrant henna stain:
- Avoid water: Avoid washing the hennaed area with water for as long as possible (ideally 12-24 hours). Water can prevent the dye from fully penetrating the skin.
- Apply oil: Apply a natural oil, such as coconut oil or olive oil, to the hennaed area to keep the skin moisturized.
- Avoid harsh chemicals: Avoid using harsh soaps, lotions, or other chemicals on the hennaed area.
- Avoid scrubbing: Avoid scrubbing or exfoliating the hennaed area.
Safety Precautions
While natural henna is generally safe, it’s important to take certain precautions:
- Patch test: Always perform a patch test before applying henna to a large area of skin. Apply a small amount of henna paste to a discreet area, such as the inside of your wrist, and wait 24 hours to check for any allergic reactions.
- Avoid black henna: Never use “black henna,” which contains PPD and can cause severe skin reactions.
- Consult a doctor: If you have sensitive skin or a history of allergic reactions, consult a doctor before using henna.
- Use reputable suppliers: Purchase natural henna tattoo kits from reputable suppliers who are transparent about their ingredients.
Where to Buy Natural Henna Tattoo Kits
Natural henna tattoo kits are available online and at specialty stores. Look for reputable online retailers that specialize in henna products. Read customer reviews and check the ingredient list carefully before making a purchase. Consider retailers that offer certifications or guarantees of purity.
The Cultural Significance of Henna
Henna has a rich cultural history, dating back thousands of years. It is traditionally used in various cultures for celebrations, such as weddings and religious ceremonies. When using natural henna tattoo kits, it’s important to be mindful of the cultural significance of henna and to use it respectfully. Understanding the origins and traditions associated with henna adds depth and meaning to the art form.
Conclusion
Natural henna tattoo kits offer a fun and accessible way to explore the art of henna. By choosing a kit with high-quality ingredients, following the instructions carefully, and taking proper safety precautions, you can create beautiful and temporary henna designs at home. Remember to always prioritize safety and to respect the cultural significance of this ancient art form. So, unlock your artistic expression and enjoy the beauty of natural henna!
[See also: Henna Aftercare Tips and Tricks]
[See also: The History of Henna Body Art]
