The Agony of a Stripped Screw: How to Remove a Screw That Is Stuck
Nothing is more frustrating than encountering a screw is stuck fast in place. Whether you’re tackling a DIY home improvement project, repairing electronics, or simply trying to disassemble a toy, a stubborn screw is stuck can bring progress to a screeching halt. Before you resort to brute force, which can often worsen the situation, understanding why a screw is stuck and employing the right techniques can save you time, effort, and potential damage. This comprehensive guide will walk you through the common causes of stuck screws and provide a range of proven methods to liberate them, ensuring your projects stay on track.
Understanding Why Your Screw Is Stuck
Before diving into solutions, it’s crucial to understand the potential reasons why a screw is stuck. Identifying the cause can significantly influence the method you choose to remove it.
- Corrosion: Rust or other forms of corrosion can bind the screw to the surrounding material, making it incredibly difficult to turn. This is especially common in outdoor applications or environments with high humidity.
- Over-tightening: Applying excessive force when initially installing the screw can damage the threads, making it nearly impossible to unscrew without further stripping them.
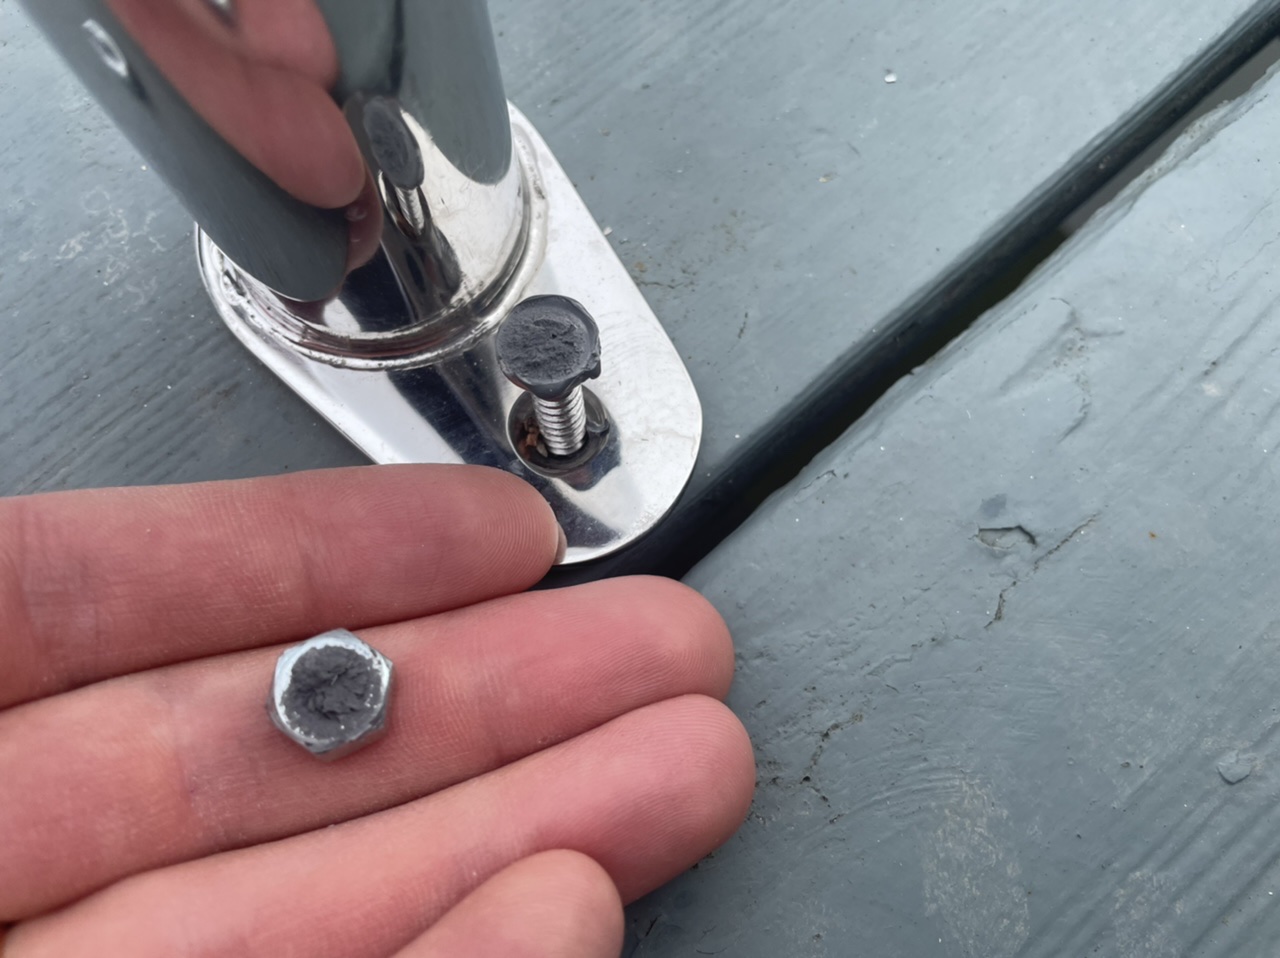
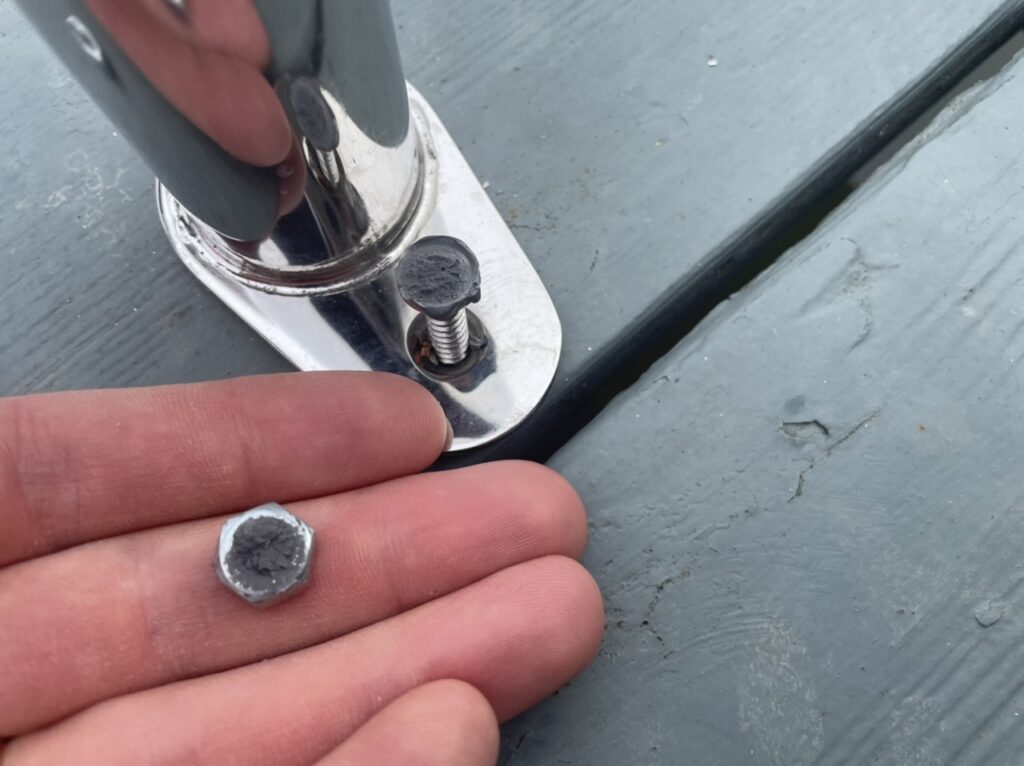
- Stripped Head: A stripped screw head is a frequent culprit. The driver bit no longer has a proper grip, preventing torque from being applied effectively.
- Paint or Adhesive: Paint or adhesive applied after the screw was installed can create a bond, essentially gluing the screw in place.
- Debris: Dirt, wood shavings, or other debris can become lodged in the threads, hindering the screw’s movement.
- Cross-threading: This occurs when the screw is forced in at an angle, damaging the threads and creating resistance.
Tools and Preparations for Removing a Stuck Screw
Before attempting any removal method, gather the necessary tools and prepare the area. This can prevent further damage and ensure a smoother process.
- Penetrating Oil: A good penetrating oil (like WD-40 or Liquid Wrench) is essential for loosening corroded or seized screws.
- Screwdrivers: Have a variety of screwdriver sizes and types (Phillips, flathead, etc.) on hand. Ensure they are in good condition and fit the screw head snugly.
- Screw Extractors: These specialized tools are designed to grip stripped screw heads and allow you to unscrew them.
- Rubber Bands or Steel Wool: These can provide extra grip when the screw head is slightly stripped.
- Hammer: A hammer can be used to gently tap the screwdriver to help it seat properly in the screw head and break up corrosion.
- Pliers or Vise-Grips: For screws with exposed heads, pliers or vise-grips can provide a strong grip for turning.
- Heat Gun or Soldering Iron: Applying heat can help loosen adhesives or corrosion.
- Drill: A drill is needed for using screw extractors or, as a last resort, drilling out the screw.
Preparation: Clean the area around the screw to remove any loose debris. Apply penetrating oil and allow it to soak for at least 15-30 minutes, or even overnight for heavily corroded screws. This allows the oil to seep into the threads and loosen the bond.
Methods for Removing a Screw That Is Stuck
Now that you understand the potential causes and have gathered your tools, let’s explore various methods for removing a screw is stuck.
The Simple Solutions
Sometimes, the simplest approach is the most effective. Try these methods first:
- Apply More Downward Pressure: Ensure you are applying firm, consistent downward pressure on the screwdriver while turning. This can help prevent the driver from slipping and further stripping the screw head.
- Use a Rubber Band or Steel Wool: Place a wide rubber band or a small piece of steel wool between the screwdriver and the screw head. This can provide extra grip and prevent slipping.
- Tap the Screwdriver: Gently tap the end of the screwdriver with a hammer before and during turning. This can help seat the driver properly and break up any corrosion.
- Try a Different Screwdriver: A slightly larger or different type of screwdriver may provide a better fit and grip.
Advanced Techniques
If the simple solutions fail, it’s time to move on to more advanced techniques:
- Screw Extractors: These tools are designed specifically for removing stripped screws. They typically have a tapered, hardened steel end that bites into the screw head when turned counterclockwise. Follow the manufacturer’s instructions carefully, as incorrect use can damage the screw or the surrounding material. You’ll often need to drill a pilot hole first.
- Pliers or Vise-Grips: If the screw head is exposed, use pliers or vise-grips to grip the head tightly and turn it counterclockwise. This method is particularly effective for screws with rounded or damaged heads.
- Heat Application: Applying heat to the screw head can help loosen adhesives or corrosion. Use a heat gun or soldering iron to heat the screw for a few seconds, then try to unscrew it. Be careful not to overheat the surrounding material, as this could cause damage.
- Impact Driver: An impact driver delivers a powerful rotational force that can help break loose stubborn screws. Use it with the appropriate bit for the screw head.
- Cutting a New Slot: If the screw head is severely stripped, you can use a rotary tool (like a Dremel) with a cutting disc to create a new slot for a flathead screwdriver. Be careful not to damage the surrounding material.
The Last Resort: Drilling Out the Screw
If all else fails, drilling out the screw may be your only option. This should be considered a last resort, as it can damage the surrounding material. [See also: Repairing Damaged Wood Threads]
- Center Punch: Use a center punch to create a small indentation in the center of the screw head. This will help guide the drill bit and prevent it from slipping.
- Drill a Pilot Hole: Start with a small drill bit and drill a pilot hole through the center of the screw.
- Increase Drill Bit Size: Gradually increase the drill bit size until the screw head separates from the shank.
- Remove the Shank: Once the head is removed, you may be able to remove the remaining shank with pliers or vise-grips. If not, you may need to use a screw extractor or drill it out as well.
Preventing Screws from Getting Stuck in the First Place
Prevention is always better than cure. Here are some tips to prevent screws from getting stuck in the future:
- Use the Right Screwdriver: Always use the correct size and type of screwdriver for the screw head.
- Apply Proper Torque: Avoid over-tightening screws. Use a torque screwdriver if necessary.
- Use Lubricant: Apply a small amount of lubricant (like grease or anti-seize compound) to the screw threads before installing them, especially in outdoor applications.
- Choose Corrosion-Resistant Screws: Use stainless steel or other corrosion-resistant screws in environments where corrosion is likely.
- Protect Screws from the Elements: If possible, protect screws from exposure to moisture and other elements.
Conclusion
Dealing with a screw is stuck can be a frustrating experience, but with the right knowledge and tools, you can often remove it without causing further damage. By understanding the common causes of stuck screws, employing the appropriate removal techniques, and taking preventative measures, you can minimize the risk of encountering this problem in the future. Remember to be patient and persistent, and don’t be afraid to try multiple methods until you find one that works. Good luck!
By following these steps, you’ll be well-equipped to handle the next time a screw is stuck. Remember safety first! [See also: Best Screwdriver Sets for Home Improvement]
