RTV Silicone Remover: A Comprehensive Guide to Removing Silicone Sealant
RTV (Room Temperature Vulcanizing) silicone sealant is a versatile adhesive and sealant used in a wide range of applications, from construction and automotive to household repairs. Its durability and resistance to various environmental factors make it a popular choice. However, removing cured RTV silicone can be a challenging task. This comprehensive guide delves into the various methods and products available for effective RTV silicone remover, ensuring you can tackle this task with confidence and efficiency.
Understanding RTV Silicone and Its Removal Challenges
Before diving into the removal process, it’s crucial to understand the properties of RTV silicone that make it so difficult to remove. RTV silicone is a polymer that cures into a flexible, rubbery solid. It forms a strong bond with many surfaces, and its resistance to chemicals and solvents makes it impervious to many common cleaning agents. The key to successful RTV silicone removal lies in breaking down this bond without damaging the underlying surface.
Why is Removing RTV Silicone Difficult?
- Strong Adhesion: RTV silicone adheres strongly to various surfaces, including glass, metal, plastic, and ceramics.
- Chemical Resistance: It is resistant to many common solvents and cleaning agents.
- Flexibility: Its flexibility allows it to conform to irregular surfaces, making it difficult to scrape off.
- Durability: RTV silicone is designed to withstand harsh environmental conditions, making it highly durable.
Methods for Removing RTV Silicone
Several methods can be employed to remove RTV silicone, ranging from mechanical techniques to chemical solutions. The best approach depends on the type of surface, the thickness of the silicone layer, and the desired level of finish.
Mechanical Removal
Mechanical removal involves physically scraping or cutting the silicone away from the surface. This method is best suited for thick layers of silicone and surfaces that are not easily damaged.
Tools for Mechanical Removal
- Scraper: A sharp scraper, such as a putty knife or razor blade scraper, is essential for lifting the silicone from the surface.
- Utility Knife: A utility knife can be used to cut through thick beads of silicone.
- Plastic Scraper: For delicate surfaces, a plastic scraper can prevent scratches.
- Heat Gun/Hair Dryer: Applying heat can soften the silicone, making it easier to scrape off.
Steps for Mechanical Removal
- Prepare the Area: Clean the area around the silicone to remove any loose debris.
- Soften the Silicone: If possible, apply heat using a heat gun or hair dryer to soften the silicone. Be careful not to overheat the surface.
- Cut Through Thick Beads: Use a utility knife to carefully cut through thick beads of silicone.
- Scrape Away Silicone: Use a scraper to lift the silicone from the surface. Work at a shallow angle to avoid damaging the underlying material.
- Clean Up: Remove any remaining residue with a clean cloth and appropriate solvent.
Chemical Removal
Chemical removal involves using solvents or specialized RTV silicone remover products to dissolve or break down the silicone. This method is often more effective for removing thin layers of silicone or residue that remains after mechanical removal.
Types of Chemical Removers
- Solvents: Common solvents like mineral spirits, acetone, and xylene can be effective for removing silicone, but they may also damage certain surfaces. Always test the solvent on an inconspicuous area first.
- Commercial RTV Silicone Removers: These products are specifically formulated to break down silicone without damaging most surfaces. They are available in various forms, including gels, sprays, and liquids.
- Citrus-Based Removers: These are environmentally friendly alternatives that can be effective for removing silicone residue.
Steps for Chemical Removal
- Test the Remover: Before applying the remover to the entire area, test it on an inconspicuous spot to ensure it does not damage the surface.
- Apply the Remover: Apply the RTV silicone remover according to the manufacturer’s instructions. This may involve spraying, brushing, or pouring the remover onto the silicone.
- Allow Dwell Time: Allow the remover to dwell for the recommended time, typically 15-30 minutes. This allows the chemicals to penetrate and break down the silicone.
- Scrape Away Silicone: Use a scraper to remove the softened silicone.
- Clean Up: Clean the surface with a clean cloth and appropriate solvent to remove any remaining residue.
Choosing the Right RTV Silicone Remover
Selecting the appropriate RTV silicone remover is crucial for achieving the best results without damaging the underlying surface. Consider the following factors when choosing a remover:
Surface Type
The type of surface you are removing the silicone from is a primary consideration. Some solvents and chemicals can damage certain materials, such as plastic, painted surfaces, or delicate metals. Always check the product label to ensure it is compatible with the surface you are working on.
Silicone Thickness
Thick layers of silicone may require a stronger remover or a combination of mechanical and chemical methods. Thin layers or residue can often be removed with milder solvents or citrus-based removers.
Environmental Considerations
If you are concerned about the environment, consider using a citrus-based remover or a low-VOC (Volatile Organic Compound) product. These removers are less harmful to the environment and may be safer to use in enclosed spaces.
Safety Precautions
Always follow the manufacturer’s safety precautions when using RTV silicone remover. Wear appropriate protective gear, such as gloves, eye protection, and a respirator, especially when working with strong solvents. Ensure adequate ventilation to avoid inhaling harmful fumes.
Specific RTV Silicone Remover Products
Several commercial products are designed specifically for removing RTV silicone. Here are a few popular options:
- Goo Gone Silicone Caulk Remover: This product is effective for removing silicone caulk and sealant from various surfaces.
- 3M Adhesive Remover: This versatile remover can be used to remove a wide range of adhesives, including silicone.
- De-Solv-It Citrus Solution: This citrus-based remover is an environmentally friendly option for removing silicone residue.
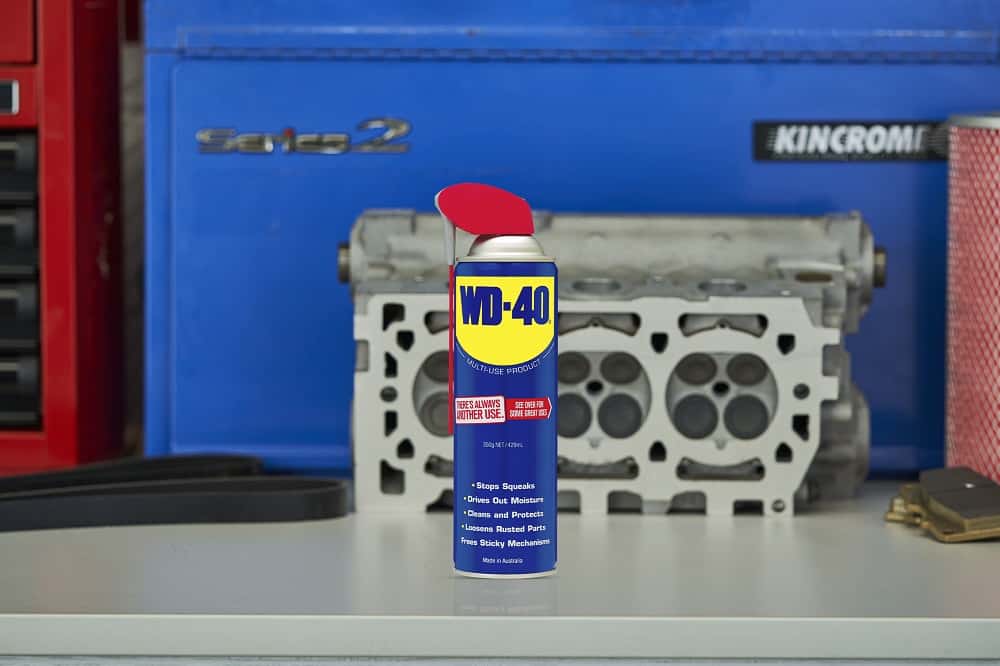
- WD-40 Specialist Silicone Remover: Designed for automotive and industrial applications, this product effectively removes silicone gaskets and sealants.
Tips for Effective RTV Silicone Removal
To ensure successful RTV silicone removal, consider the following tips:
- Work in a Well-Ventilated Area: Ensure adequate ventilation to avoid inhaling harmful fumes from solvents or removers.
- Wear Protective Gear: Wear gloves, eye protection, and a respirator to protect yourself from chemicals and fumes.
- Test the Remover: Always test the remover on an inconspicuous area before applying it to the entire surface.
- Apply Heat: Applying heat can soften the silicone and make it easier to remove.
- Use the Right Tools: Use sharp scrapers and utility knives to effectively lift the silicone from the surface.
- Be Patient: Removing silicone can be a time-consuming process. Be patient and avoid rushing, as this can lead to damage.
- Clean Up Thoroughly: After removing the silicone, clean the surface thoroughly to remove any remaining residue.
Preventing Future Silicone Buildup
While removing RTV silicone can be a hassle, there are steps you can take to prevent future buildup:
- Apply Silicone Sparingly: Use only the amount of silicone necessary for the application.
- Clean Surfaces Before Applying Silicone: Ensure surfaces are clean and dry before applying silicone to promote proper adhesion.
- Use Appropriate Silicone: Choose the right type of silicone for the application to ensure it performs as expected.
- Regular Maintenance: Regularly inspect silicone seals and replace them as needed to prevent buildup and deterioration.
Conclusion
Removing RTV silicone can be a challenging task, but with the right methods, tools, and products, it is achievable. Whether you choose mechanical removal, chemical removal, or a combination of both, understanding the properties of RTV silicone and the specific requirements of your project is crucial. By following the tips and guidelines outlined in this guide, you can effectively remove RTV silicone and restore surfaces to their original condition. Remember to always prioritize safety and take the necessary precautions to protect yourself and the environment. When dealing with stubborn or large areas of silicone, considering professional RTV silicone removal services may also be a worthwhile investment. [See also: How to Choose the Right Silicone Sealant], [See also: Best Practices for Applying Silicone Caulk]
