Mastering the 5163 Avery Template: A Comprehensive Guide
The 5163 Avery template is a versatile tool for creating professional-looking shipping labels, address labels, and organizational labels. Whether you’re a small business owner managing inventory, an office administrator streamlining mailings, or an individual organizing your personal belongings, understanding how to effectively use the 5163 Avery template is crucial. This guide will delve into the intricacies of the 5163 Avery template, covering everything from accessing and customizing it to printing and troubleshooting common issues.
Understanding the 5163 Avery Template
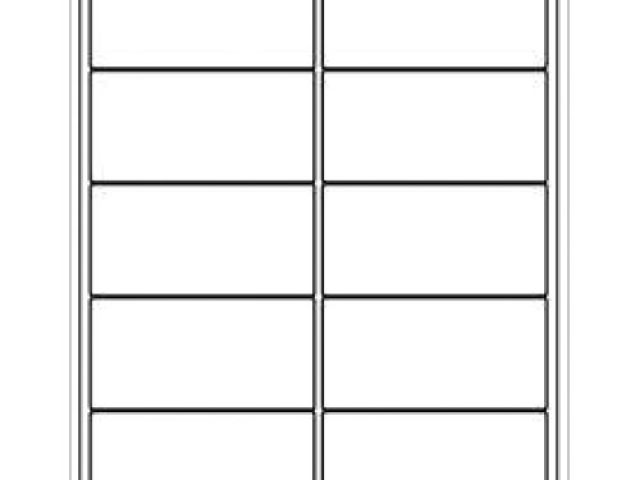
The 5163 Avery template is specifically designed for use with Avery 5163 labels, which are commonly sized at 2″ x 4″. These labels are widely available at most office supply stores and online retailers. The template itself provides a pre-formatted layout that ensures your text and graphics align perfectly within the boundaries of each label. Using the correct template prevents misaligned printing, wasted labels, and unprofessional results. The 5163 Avery template‘s popularity stems from its ease of use and compatibility with various software programs.
Key Features and Benefits
- Pre-formatted Layout: The template provides a precise layout for 2″ x 4″ labels, eliminating guesswork.
- Versatility: Suitable for a wide range of applications, including shipping labels, address labels, and organizational labels.
- Compatibility: Works with popular software programs like Microsoft Word, Google Docs, and Avery Design & Print Online.
- Time-Saving: Streamlines the label creation process, saving time and effort.
- Professional Results: Ensures consistent and professional-looking labels.
Accessing the 5163 Avery Template
There are several ways to access the 5163 Avery template, depending on your preferred software and workflow.
Using Microsoft Word
- Open Microsoft Word: Launch the Microsoft Word application on your computer.
- Go to Mailings: Click on the “Mailings” tab in the Word ribbon.
- Select Labels: Click on the “Labels” button in the “Create” group.
- Choose Options: In the “Envelopes and Labels” dialog box, click on the “Options” button.
- Select Avery US Letter: In the “Label Options” dialog box, choose “Avery US Letter” from the “Label vendors” dropdown menu.
- Find 5163: Scroll through the “Product number” list and select “5163 – Shipping”.
- Click OK: Click “OK” to close the “Label Options” dialog box and then click “New Document” to create a new document with the 5163 Avery template.
Using Avery Design & Print Online
- Visit Avery Website: Go to the Avery website ([See also: Avery Official Website])
- Navigate to Templates: Click on the “Templates” or “Design & Print Online” section.
- Enter Product Number: Enter “5163” in the search bar and press Enter.
- Choose Template: Select the 5163 Avery template from the search results.
- Customize Online: Use the online design tools to customize your labels.
Using Google Docs
While Google Docs doesn’t have a direct template selection for Avery labels like Microsoft Word, you can use add-ons or create a table that mimics the 5163 Avery template layout.
- Install an Add-on: Search for Avery label add-ons in the Google Workspace Marketplace and install one that supports 5163 Avery template.
- Create a Table: Alternatively, create a table with two columns and five rows to match the layout of the 5163 Avery template. Adjust the cell sizes to 2″ x 4″.
- Customize Table: Add your text and graphics to each cell in the table.
Customizing the 5163 Avery Template
Once you have accessed the 5163 Avery template, the next step is to customize it with your desired text, graphics, and formatting.
Adding Text
Adding text to the 5163 Avery template is straightforward. Simply click on the label area where you want to add text and start typing. You can format the text using the formatting options available in your software, such as font, size, color, and alignment.
Adding Graphics
To add graphics or images to the 5163 Avery template, use the “Insert” function in your software. You can insert images from your computer or from online sources. Resize and position the graphics as needed to fit within the label boundaries.
Formatting Labels
Consistent formatting is crucial for creating professional-looking labels. Use the same font, size, and alignment for all labels in a sheet. Pay attention to spacing and margins to ensure that your text and graphics are properly aligned and don’t get cut off during printing.
Printing the 5163 Avery Template
Printing the 5163 Avery template requires careful attention to ensure proper alignment and print quality.
Print Settings
Before printing, check your printer settings. Select the correct paper size (usually US Letter) and paper type (labels or heavy paper). Ensure that the print quality is set to high or best for optimal results.
Test Print
Always perform a test print on a plain sheet of paper before printing on the actual Avery labels. This allows you to verify the alignment and make any necessary adjustments before wasting labels.
Loading Labels
Load the Avery labels into your printer according to the printer’s instructions. Make sure the labels are properly aligned and securely positioned to prevent jams or misfeeds.
Troubleshooting Common Issues
Despite careful preparation, you may encounter some common issues when using the 5163 Avery template.
Misalignment
If your labels are misaligned, check your printer settings and ensure that the correct paper size and margins are selected. Adjust the template layout as needed to compensate for any discrepancies.
Print Quality
If the print quality is poor, check your printer’s ink levels and clean the print heads if necessary. Use high-quality Avery labels for best results.
Label Jams
If your printer experiences label jams, carefully remove the jammed labels and follow your printer’s instructions for clearing jams. Avoid using damaged or wrinkled labels, as they are more likely to cause jams.
Advanced Tips and Tricks
To further enhance your experience with the 5163 Avery template, consider these advanced tips and tricks.
Mail Merge
Use the mail merge feature in Microsoft Word or similar software to create personalized labels for a large number of recipients. This can save significant time and effort when sending out mass mailings.
Data Integration
Integrate your label data with other databases or spreadsheets to automate the label creation process. This can be particularly useful for businesses that need to generate labels on a regular basis.
Custom Designs
Create custom designs for your labels using graphic design software like Adobe Photoshop or Illustrator. Import your designs into the 5163 Avery template to create unique and eye-catching labels.
Conclusion
The 5163 Avery template is an invaluable tool for anyone who needs to create professional-looking labels. By understanding how to access, customize, print, and troubleshoot the template, you can streamline your label creation process and achieve consistent, high-quality results. Whether you’re using it for shipping, addressing, or organizing, the 5163 Avery template offers a versatile and efficient solution.
Mastering the use of the 5163 Avery template can significantly improve your organizational efficiency and professional image. Take the time to explore its features and experiment with different customization options to find the best approach for your specific needs. With practice and attention to detail, you can create labels that are both functional and visually appealing. The 5163 Avery template truly is a cornerstone for efficient labeling solutions.
