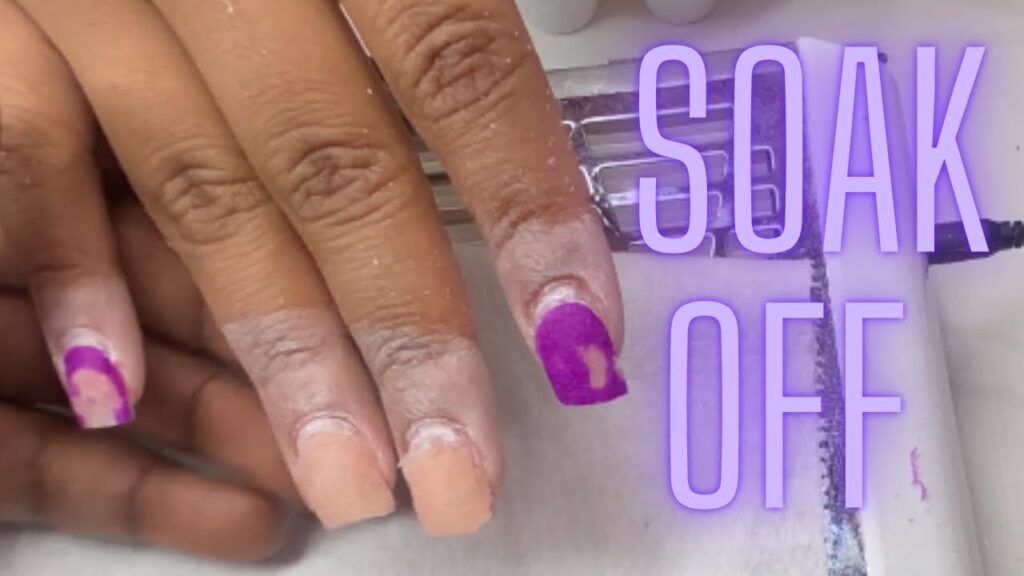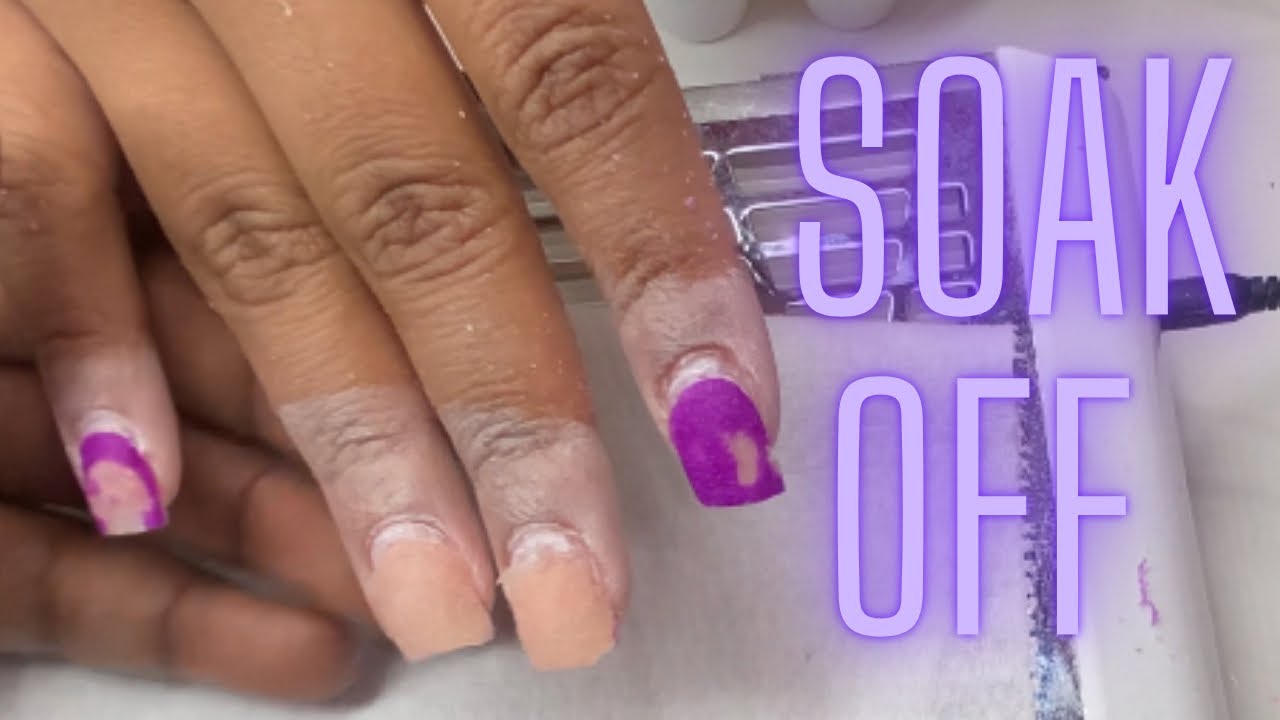
How to Soak Off Acrylic Gel Nails: A Comprehensive Guide
Acrylic gel nails offer a durable and beautiful enhancement to natural nails, but the time eventually comes when they need to be removed. While professional removal is always an option, knowing how to soak off acrylic gel nails at home can save you time and money. This comprehensive guide provides a step-by-step approach to safely and effectively removing acrylic gel nails, minimizing damage and keeping your natural nails healthy. We’ll cover everything from the necessary supplies to troubleshooting common issues.
Understanding Acrylic Gel Nails
Before diving into the removal process, it’s important to understand what acrylic gel nails are. These are a hybrid of acrylic powder and gel polish, cured under a UV or LED lamp. This combination provides strength and longevity, but also makes removal slightly more involved than removing regular nail polish. Attempting to peel or pick off acrylic gel nails can severely damage your natural nail bed, leading to thinning, weakening, and even infection. The key is to gently dissolve the acrylic gel without causing trauma to the underlying nail.
Gathering Your Supplies
Having the right supplies on hand is crucial for a successful and damage-free removal process. Here’s what you’ll need:
- 100% Acetone: This is the most effective solvent for breaking down acrylic. Ensure it’s pure acetone, not nail polish remover with added ingredients.
- Cotton Balls or Pads: To saturate with acetone and apply to the nails.
- Aluminum Foil: To wrap the cotton balls in place and trap the acetone.
- Nail File (100/180 grit): To gently file away the top layer of the acrylic gel.
- Cuticle Pusher or Orange Wood Stick: To gently push away the softened acrylic.
- Bowl of Warm Water: To warm the acetone and speed up the process.
- Petroleum Jelly or Cuticle Oil: To protect the skin around your nails from the drying effects of acetone.
- Buffer: To smooth out the surface of your natural nails after removal.
Step-by-Step Guide to Soaking Off Acrylic Gel Nails
Now that you have your supplies, let’s walk through the process of how to soak off acrylic gel nails safely and effectively:
Prepare Your Nails
Begin by gently filing away the top layer of the acrylic gel with a 100/180 grit nail file. This helps the acetone penetrate more effectively. Be careful not to file down to your natural nail. The goal is simply to remove the shiny top coat.
Protect Your Skin
Apply a generous amount of petroleum jelly or cuticle oil to the skin surrounding your nails. Acetone is very drying and can irritate the skin, so this step is crucial for protection.
Soak Cotton Balls in Acetone
Saturate cotton balls or pads with 100% acetone. Ensure they are thoroughly soaked but not dripping. You want enough acetone to effectively dissolve the acrylic.
Apply Acetone to Nails
Place a saturated cotton ball directly onto each nail. Make sure the entire acrylic surface is covered.
Wrap in Aluminum Foil
Tightly wrap each nail with a piece of aluminum foil, securing the cotton ball in place. This helps to trap the acetone and generate heat, which speeds up the dissolving process. Ensure the foil is snug but not too tight to avoid discomfort.
Soak for 15-20 Minutes
Allow the nails to soak for 15-20 minutes. For faster results, place your hands in a bowl of warm water during the soaking process. The warmth helps to activate the acetone. Check a nail after 15 minutes to see if the acrylic is softening. If not, re-wrap and soak for another 5-10 minutes.
Gently Remove Softened Acrylic
After soaking, remove the foil and cotton balls. The acrylic gel should be softened and easily scraped away with a cuticle pusher or orange wood stick. Work gently and patiently. If the acrylic is still difficult to remove, re-soak for a few more minutes.
Buff and Hydrate
Once all the acrylic is removed, gently buff the surface of your natural nails to smooth out any imperfections. Apply cuticle oil or a moisturizing hand cream to rehydrate your nails and surrounding skin. This step is essential to restore moisture and prevent brittleness.
Troubleshooting Common Issues
Even with the best preparation, you might encounter some challenges when how to soak off acrylic gel nails. Here are some common issues and how to address them:
- Acrylic Not Softening: Ensure you are using 100% acetone and that the cotton balls are thoroughly saturated. Also, make sure the foil is wrapped tightly to trap the acetone. Adding warmth can also help.
- Skin Irritation: If you experience skin irritation, reduce the soaking time and apply more petroleum jelly or cuticle oil. Consider using a thicker barrier cream for extra protection.
- Damaged Natural Nails: If your natural nails appear thin or damaged, avoid applying acrylics for a while and focus on strengthening them with cuticle oil and nail strengtheners. [See also: How to Repair Damaged Nails After Acrylics]
- Stubborn Acrylic Residue: If some acrylic residue remains, gently buff it away with a fine-grit buffer. Avoid excessive buffing, as this can further thin the natural nail.
Tips for Healthy Natural Nails After Acrylic Removal
Removing acrylic gel nails can be harsh on your natural nails. Here are some tips to promote healthy nail growth and prevent breakage:
- Hydrate Regularly: Apply cuticle oil several times a day to keep your nails and cuticles moisturized.
- Use a Nail Strengthener: A nail strengthener can help to fortify weak or brittle nails.
- Avoid Harsh Chemicals: Limit exposure to harsh chemicals, such as cleaning products, which can further dry out your nails.
- Maintain a Healthy Diet: A balanced diet rich in vitamins and minerals can promote healthy nail growth.
- Take Breaks: Give your nails a break from acrylics to allow them to recover and strengthen naturally.
Alternatives to Soaking Off
While soaking in acetone is the most common method for removing acrylic gel nails, there are alternative approaches, although they may not be as effective or convenient:
- Electric Nail File (E-File): A professional nail technician can use an e-file to carefully remove the acrylic. This method requires skill and precision to avoid damaging the natural nail.
- Filing Only: Filing down the acrylic completely is possible, but it’s time-consuming and can easily lead to over-filing and damage to the natural nail.
The Importance of Professional Removal
While how to soak off acrylic gel nails at home is a viable option, professional removal by a trained nail technician is often the safest and most effective approach. Technicians have the experience and tools to minimize damage and ensure a smooth removal process. [See also: Benefits of Professional Nail Care]
Professional removal is particularly recommended if you have sensitive skin, thin or damaged nails, or if you are unsure about the process. A professional can also provide advice on how to care for your nails after removal.
Conclusion
Knowing how to soak off acrylic gel nails at home can be a valuable skill, saving you time and money. By following the steps outlined in this guide and taking the necessary precautions, you can safely and effectively remove acrylic gel nails without causing significant damage to your natural nails. Remember to be patient, gentle, and prioritize the health of your nails above all else. Regular hydration, nail strengthening treatments, and occasional breaks from acrylics will help keep your nails strong and healthy. Understanding the process and potential pitfalls allows you to make an informed decision about whether to tackle the removal yourself or seek professional assistance. Whether you choose to DIY or visit a salon, prioritizing nail health is key to maintaining beautiful and healthy nails.

