How to Paint on Wood with Acrylics: A Comprehensive Guide
Painting on wood with acrylics is a rewarding and versatile art form. Whether you’re a seasoned artist or a beginner, understanding the nuances of preparing the wood, selecting the right materials, and applying the paint can significantly impact the final result. This guide provides a comprehensive overview of how to paint on wood with acrylics, ensuring your projects are both beautiful and durable. From choosing the right type of wood to sealing your finished masterpiece, we’ll cover every essential step.
Why Choose Acrylics for Wood Painting?
Acrylic paints are a popular choice for painting on wood for several reasons. Their quick-drying nature allows for layering and faster project completion. They are also water-based, making them easy to clean up and relatively non-toxic. Furthermore, acrylics offer excellent adhesion to wood surfaces and can be sealed for long-lasting protection. When you learn how to paint on wood with acrylics, you open yourself to a world of creative possibilities, from rustic signs to intricate artworks.
Materials You’ll Need
- Wood Surface: Untreated wood is preferable. Consider different types like pine, oak, or plywood.
- Acrylic Paints: A variety of colors to suit your project. Artist-grade acrylics offer better pigment and longevity.
- Paintbrushes: A selection of brushes in different sizes and shapes. Synthetic brushes are generally suitable for acrylics.
- Primer/Sealer: To prepare the wood surface for painting and prevent paint absorption.
- Sandpaper: For smoothing the wood surface.
- Palette: For mixing paints.
- Water Container: For cleaning brushes.
- Palette Knife or Mixing Sticks: For mixing paints.
- Clean Cloths or Paper Towels: For cleaning spills and brushes.
- Varnish or Sealer (Optional): To protect the finished painting.
- Painter’s Tape (Optional): For creating clean edges or masking areas.
Preparing the Wood Surface
Sanding the Wood
The first step in how to paint on wood with acrylics is preparing the surface. Start by sanding the wood with medium-grit sandpaper (around 120-grit) to remove any rough spots or splinters. Follow up with fine-grit sandpaper (around 220-grit) for a smoother finish. Sanding ensures that the paint adheres properly to the wood. Remember to sand in the direction of the grain to avoid scratching the wood. After sanding, wipe the wood clean with a tack cloth or damp cloth to remove any dust.
Priming the Wood
Priming is crucial for several reasons. It seals the wood, preventing it from absorbing too much paint, which can lead to uneven color and wasted paint. Primer also provides a better surface for the acrylic paint to adhere to, resulting in a more durable and vibrant finish. Apply a thin, even coat of acrylic gesso or wood primer using a brush or roller. Allow the primer to dry completely according to the manufacturer’s instructions. You may need to apply a second coat for particularly porous woods. Lightly sand the primed surface with fine-grit sandpaper before painting.
Applying the Acrylic Paint
Layering Techniques
Acrylics are known for their quick-drying time, which makes layering a popular technique. Allow each layer to dry completely before applying the next. This prevents the colors from mixing unintentionally and allows you to build up depth and detail. Thinning acrylics with water or a special acrylic medium can create washes and glazes. Experiment with different layering techniques to achieve various effects. Understanding how to paint on wood with acrylics often involves mastering layering to create depth and dimension in your artwork.
Blending Techniques
Blending acrylics can be challenging due to their fast-drying nature. To blend effectively, work quickly and use a wet brush to soften the edges of the colors. You can also use a blending medium to slow down the drying time. Wet-on-wet blending involves applying colors next to each other while they are still wet and then using a clean brush to blend them together. Dry brushing, on the other hand, involves using a dry brush with a small amount of paint to create a textured effect. Practice these techniques to become proficient in how to paint on wood with acrylics and achieve seamless color transitions.
Dry Brushing
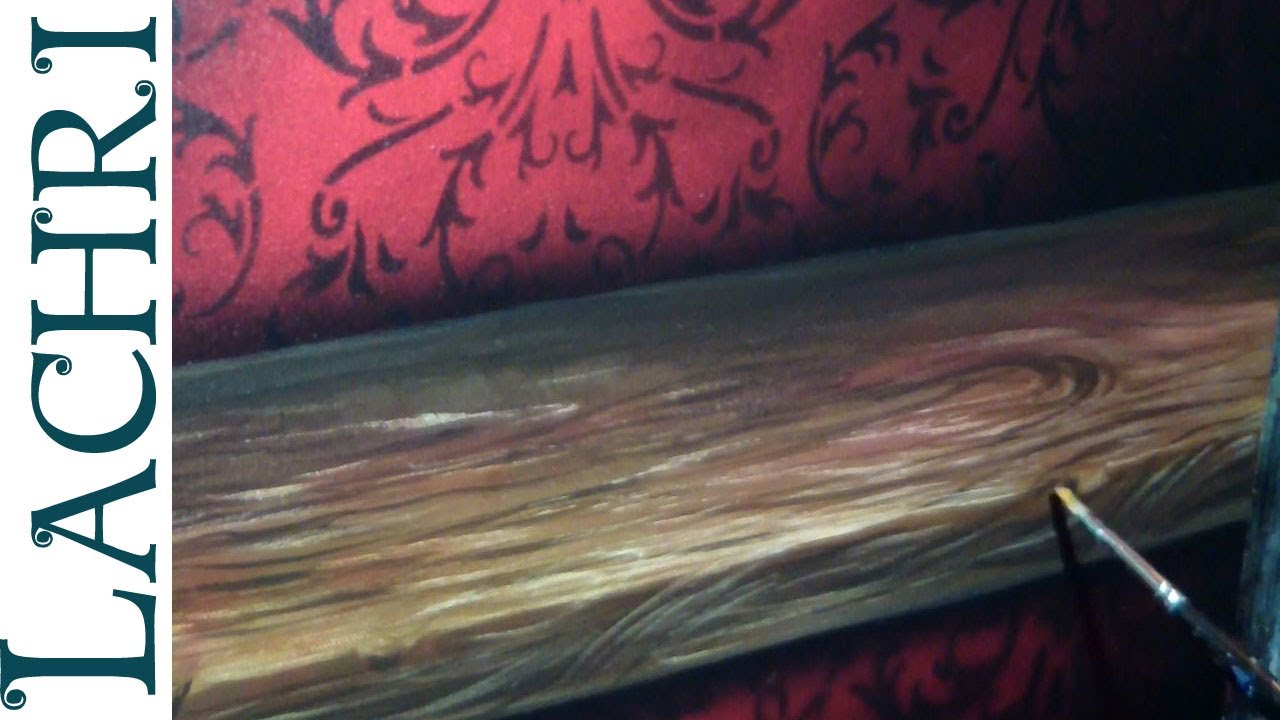
Dry brushing is a technique where you use a dry brush with very little paint to create a textured, weathered look. This is especially effective for painting wood grain or adding highlights. Dip the tip of your brush into the paint, then wipe off most of the paint onto a paper towel until the brush feels almost dry. Lightly drag the brush across the surface of the wood. The paint will catch on the raised areas, creating a subtle, textured effect.
Detailing
For fine details, use small brushes and thinned acrylics. A liner brush is excellent for creating thin lines and intricate patterns. Practice your brush control on a separate piece of paper before applying the details to your artwork. Consider using paint markers for very fine details or lettering. When learning how to paint on wood with acrylics, mastering detailing can elevate your work to a professional level.
Sealing and Finishing
Applying a Varnish or Sealer
Once your painting is completely dry, it’s important to protect it with a varnish or sealer. This will shield the paint from moisture, UV light, and scratches, ensuring its longevity. Choose a varnish or sealer that is compatible with acrylic paints. Apply a thin, even coat using a brush or spray. Allow the varnish to dry completely according to the manufacturer’s instructions. You may need to apply multiple coats for added protection. A matte varnish will reduce shine, while a gloss varnish will enhance the colors. Selecting the right finish is a crucial step in how to paint on wood with acrylics to preserve your artwork.
Different Types of Sealers
There are several types of sealers available, each with its own properties. Acrylic varnishes are water-based and provide good protection against UV light and moisture. Polyurethane sealers are oil-based and offer excellent durability and water resistance. However, they can yellow over time. Wax sealers provide a soft, matte finish but are not as durable as other options. Consider the intended use of your artwork and the desired finish when choosing a sealer.
Tips and Tricks for Painting on Wood with Acrylics
- Work in a Well-Ventilated Area: Acrylic paints can release fumes, so ensure good ventilation.
- Clean Your Brushes Regularly: Rinse your brushes with water frequently to prevent the paint from drying and hardening.
- Use a Palette Wetting Spray: To keep your acrylic paints from drying out too quickly on your palette.
- Experiment with Different Techniques: Don’t be afraid to try new things and explore different styles.
- Practice on Scrap Wood: Before starting your final project, practice your techniques on a piece of scrap wood.
Troubleshooting Common Issues
Paint Cracking or Peeling
If your paint is cracking or peeling, it could be due to several reasons. The wood may not have been properly prepared, the paint may have been applied too thickly, or the wood may have been exposed to extreme temperatures or humidity. Ensure that you sand and prime the wood properly before painting. Apply thin, even coats of paint, and protect your artwork from harsh conditions.
Uneven Paint Coverage
Uneven paint coverage can be caused by using a low-quality paint, not priming the wood, or applying the paint unevenly. Use artist-grade acrylic paints and apply a primer before painting. Apply the paint in thin, even coats, and use a good-quality brush.
Paint Bleeding Under Tape
If paint is bleeding under the painter’s tape, it could be because the tape was not applied properly or the paint is too thin. Ensure that the tape is firmly pressed down and that there are no gaps. Use a thicker paint or apply multiple thin coats.
Conclusion
Mastering how to paint on wood with acrylics is a journey that combines technique, creativity, and patience. By following these steps and tips, you can create beautiful and lasting works of art on wood. Remember to experiment, practice, and enjoy the process. With the right preparation, materials, and techniques, you can transform ordinary pieces of wood into stunning masterpieces. So grab your brushes, paints, and wood, and start creating!
[See also: Acrylic Painting Techniques for Beginners]
[See also: Best Wood for Painting Projects]
[See also: Sealing Acrylic Paintings for Durability]

