How to Fix a Leaky Sink: A Comprehensive Guide
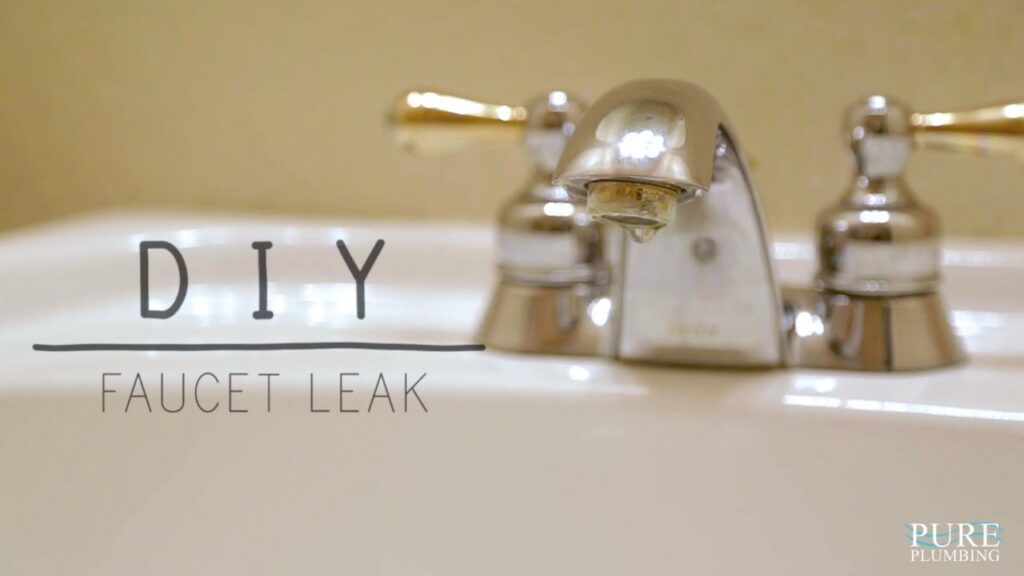
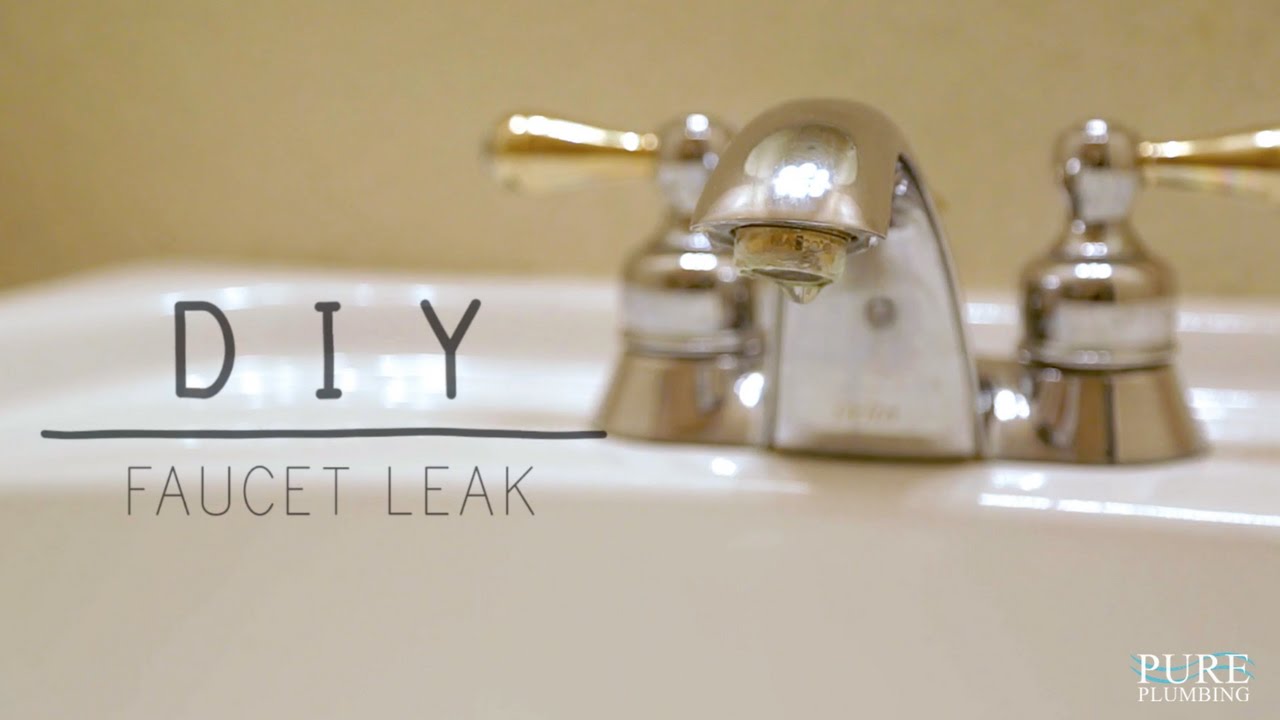
A leaky sink is more than just an annoyance; it’s a potential drain on your wallet and a risk to your home’s structural integrity. The constant dripping can lead to water damage, mold growth, and a significantly higher water bill. Fortunately, most leaky sink issues are easily addressed with a few basic tools and a little know-how. This comprehensive guide will walk you through the process of diagnosing and fixing a leaky sink, saving you money and preventing further damage.
Identifying the Source of the Leak
Before you can fix a leaky sink, you need to pinpoint the exact location of the leak. This requires a bit of detective work. Start by thoroughly inspecting the following areas:
- The Faucet Base: Look for water pooling around the base of the faucet where it meets the sink. This could indicate a problem with the O-rings or the faucet’s internal components.
- The Faucet Handles: Leaks around the handles often signify worn-out cartridges or packing nuts.
- The Drain: Check the drain flange (the part that connects the drain to the sink) and the drainpipe for any signs of water.
- The Supply Lines: Examine the supply lines (the flexible hoses that connect the shut-off valves to the faucet) for leaks or corrosion.
- The Shut-Off Valves: These valves, located under the sink, can also leak. Check for water around the valve stems.
- The P-Trap: The curved section of pipe under the sink, known as the P-trap, is designed to trap debris and prevent sewer gases from entering your home. Inspect it carefully for leaks.
Dry each area with a cloth before inspecting. This will make it easier to spot new drips and identify the source of the leaky sink.
Essential Tools and Materials
Having the right tools on hand will make the repair process much smoother. Here’s a list of essential items:
- Adjustable Wrench: For tightening and loosening nuts and bolts.
- Basin Wrench: Specifically designed for reaching hard-to-access nuts under the sink.
- Pliers: For gripping and manipulating small parts.
- Screwdrivers (Phillips and Flathead): To remove faucet handles and other components.
- Plumber’s Putty: Used to seal the drain flange.
- Teflon Tape (Plumber’s Tape): Used to seal threaded connections.
- New Washers and O-Rings: These are often the culprits behind leaks.
- Bucket: To catch water.
- Old Towels or Rags: To clean up spills.
- Penetrating Oil: To loosen stubborn nuts and bolts.
Step-by-Step Repair Guide
Once you’ve identified the source of the leak and gathered your tools, you can begin the repair. Remember to always turn off the water supply to the sink before starting any work. The shut-off valves are typically located under the sink. If you can’t find them, you may need to turn off the main water supply to your house.
Fixing a Leaky Faucet Base
If the leaky sink is coming from the base of the faucet, the problem is likely with the O-rings. Here’s how to replace them:
- Turn off the water supply.
- Disconnect the supply lines from the faucet.
- Loosen the nuts that secure the faucet to the sink.
- Carefully lift the faucet out of the sink.
- Locate the O-rings on the faucet body.
- Remove the old O-rings and replace them with new ones.
- Reinstall the faucet and tighten the nuts.
- Reconnect the supply lines and turn on the water.
Repairing Leaky Faucet Handles
Leaks around the faucet handles often indicate worn-out cartridges or packing nuts.
Replacing a Cartridge
- Turn off the water supply.
- Remove the decorative cap on the handle.
- Loosen the screw that holds the handle in place.
- Pull off the handle.
- Remove the retaining clip that holds the cartridge in place.
- Pull out the old cartridge and insert a new one.
- Reinstall the retaining clip, handle, and decorative cap.
- Turn on the water supply.
Tightening the Packing Nut
- Turn off the water supply.
- Locate the packing nut (the nut just below the handle).
- Tighten the packing nut slightly with a wrench.
- Turn on the water supply and check for leaks.
Addressing a Leaky Drain
A leaky sink drain can be caused by several issues, including a loose drain flange, a worn-out rubber washer, or a cracked drainpipe.
Sealing the Drain Flange
- Turn off the water supply.
- Remove the drain strainer.
- Clean the area around the drain opening.
- Apply a ring of plumber’s putty around the drain opening.
- Reinstall the drain strainer and tighten the nut underneath the sink.
- Remove any excess plumber’s putty.
- Turn on the water supply.
Replacing the Rubber Washer
- Turn off the water supply.
- Loosen the nut that connects the drainpipe to the drain flange.
- Remove the drainpipe.
- Remove the old rubber washer and replace it with a new one.
- Reinstall the drainpipe and tighten the nut.
- Turn on the water supply.
Repairing a Cracked Drainpipe
If the drainpipe is cracked, it will need to be replaced. This may require cutting the old pipe and installing a new section. If you’re not comfortable with this type of repair, it’s best to call a plumber.
Fixing Leaky Supply Lines
Leaky sink supply lines can often be fixed by tightening the connections or replacing the supply lines altogether.
- Turn off the water supply.
- Tighten the connections at both ends of the supply line.
- If the leak persists, replace the supply line with a new one.
- Wrap Teflon tape around the threads of the connections before tightening.
- Turn on the water supply.
Repairing Leaky Shut-Off Valves
Leaky shut-off valves may require tightening the packing nut or replacing the entire valve.
- Turn off the main water supply to your house.
- Tighten the packing nut on the valve.
- If the leak persists, replace the entire valve. This may require soldering or using compression fittings.
- Turn on the main water supply.
Addressing a Leaky P-Trap
A leaky sink P-trap can often be fixed by tightening the slip nuts that connect the P-trap to the drainpipe and tailpiece. If the P-trap is damaged, it will need to be replaced.
- Turn off the water supply.
- Loosen the slip nuts on the P-trap.
- Inspect the P-trap for cracks or damage.
- If the P-trap is damaged, replace it with a new one.
- Reassemble the P-trap and tighten the slip nuts.
- Turn on the water supply.
When to Call a Plumber
While many leaky sink issues can be resolved with DIY repairs, some situations require the expertise of a professional plumber. Consider calling a plumber if:
- You’re uncomfortable working with plumbing.
- You can’t identify the source of the leak.
- The leak is severe or causing significant water damage.
- You’re dealing with corroded or damaged pipes.
- You’re not able to complete the repair yourself.
Preventative Maintenance
Preventing leaks is always better than fixing them. Here are a few tips for maintaining your sink and preventing future leaks:
- Regularly inspect your sink and plumbing for signs of leaks or corrosion.
- Replace worn-out washers and O-rings promptly.
- Avoid over-tightening connections, which can damage the pipes.
- Be careful not to drop heavy objects into the sink, which can damage the drain.
- Flush the drain with hot water regularly to prevent clogs.
Conclusion
Fixing a leaky sink is a manageable task for most homeowners. By following these steps, you can save money on plumbing bills and prevent further damage to your home. Remember to always prioritize safety and turn off the water supply before starting any repairs. With a little patience and the right tools, you can conquer that leaky sink and enjoy a drip-free kitchen or bathroom. Knowing how to fix a leaky sink is a valuable skill that every homeowner should possess. Preventing a leaky sink will save you money in the long run. If you encounter a particularly stubborn leaky sink, don’t hesitate to consult a professional.
[See also: How to Replace a Kitchen Faucet]
[See also: Understanding Common Plumbing Problems]
[See also: Tips for Saving Water in Your Home]

