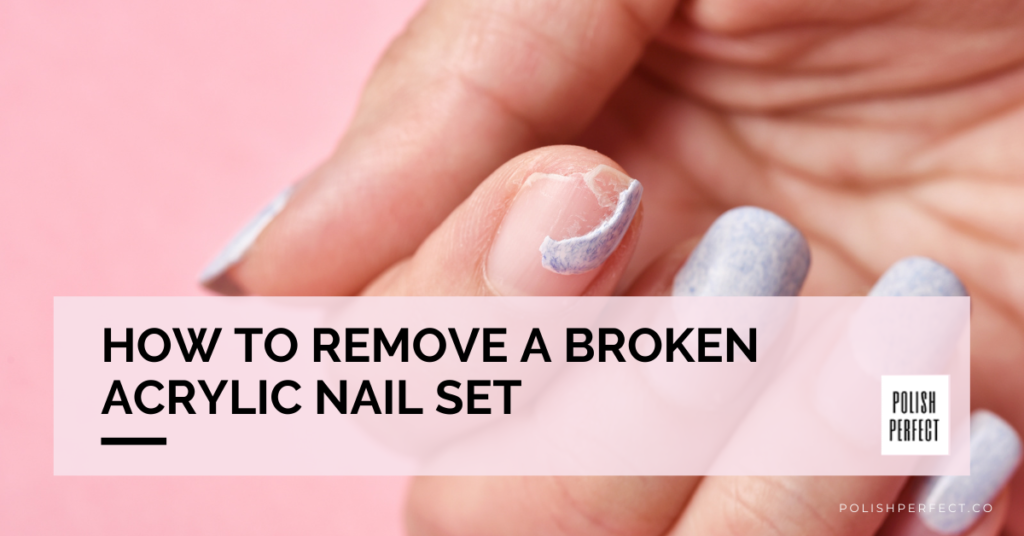
How to Fix a Cracked Acrylic Nail: A Comprehensive Guide
A cracked acrylic nail can be a real nuisance. Not only does it look unsightly, but it can also be painful and potentially lead to infection if not addressed promptly. If you’re wondering how to fix a cracked acrylic nail, you’ve come to the right place. This comprehensive guide will walk you through various methods, from quick temporary fixes to more durable long-term solutions. Whether you’re a seasoned nail enthusiast or a first-timer dealing with a cracked nail, understanding the process is crucial to maintaining healthy and beautiful nails.
Understanding Acrylic Nail Cracks
Before diving into the repair process, it’s essential to understand the nature of acrylic nail cracks. Cracks can occur due to various reasons, including:
- Impact: Accidental bumps or hitting your nail against a hard surface.
- Weak Acrylic: Poor quality acrylic or improper application.
- Dryness: Dehydrated nails are more prone to cracking.
- Length: Longer acrylic nails are more susceptible to breakage.
Identifying the cause can help you prevent future cracks. Now, let’s explore the methods on how to fix a cracked acrylic nail.
Immediate First Aid for a Cracked Acrylic Nail
When you first notice a crack, immediate action can prevent it from worsening. Here’s what to do:
Clean the Area
Gently clean the cracked area with soap and water. This helps remove any dirt or debris that could cause infection. Pat the area dry with a clean towel.
Apply Nail Glue (Temporary Fix)
For a quick, temporary fix, apply a small amount of nail glue to the crack. Hold the cracked edges together until the glue dries. This will prevent the crack from spreading further. Remember, this is not a permanent solution, but it can buy you some time until you can perform a more thorough repair. This is a common way on how to fix a cracked acrylic nail while on the go.
File the Edges
Use a fine-grit nail file to smooth out any rough edges around the crack. This will prevent the nail from snagging on clothing or other surfaces, which could worsen the damage.
Methods for Fixing a Cracked Acrylic Nail
Now, let’s delve into more comprehensive methods for repairing a cracked acrylic nail. These techniques will provide a more durable and long-lasting solution.
Using a Tea Bag or Silk Wrap
This method is a popular and effective way to repair a cracked acrylic nail. Here’s how to do it:
- Prepare the Nail: Gently file the surface of the acrylic nail to create a slightly rough texture. This will help the adhesive bond better.
- Cut the Tea Bag or Silk Wrap: Cut a small piece of tea bag or silk wrap slightly larger than the crack.
- Apply Nail Glue: Apply a thin layer of nail glue over the crack.
- Apply the Tea Bag/Silk Wrap: Carefully place the tea bag or silk wrap over the glued crack. Gently press it down to ensure it adheres properly.
- Add Another Layer of Glue: Apply another thin layer of nail glue over the tea bag or silk wrap.
- Let it Dry: Allow the glue to dry completely.
- File and Buff: Once dry, file and buff the surface to smooth out any imperfections.
- Apply Top Coat: Finish with a layer of top coat to seal and protect the repair.
This technique provides a strong and durable repair that can last for several weeks. Many find this to be the ideal answer to how to fix a cracked acrylic nail at home.
Acrylic Patch Repair
For a more professional-looking repair, you can use an acrylic patch. This method involves applying a small amount of acrylic powder and liquid to the cracked area.
- Prepare the Nail: File the surface of the acrylic nail around the crack.
- Apply Primer: Apply a nail primer to the cracked area. This will help the acrylic bond better.
- Mix Acrylic Powder and Liquid: Mix a small amount of acrylic powder and liquid in a dappen dish.
- Apply the Acrylic Patch: Using an acrylic brush, apply the mixture to the cracked area, blending it seamlessly with the existing acrylic.
- Let it Dry: Allow the acrylic to dry completely.
- File and Shape: File and shape the repaired area to match the rest of the nail.
- Buff and Finish: Buff the surface to smooth out any imperfections and finish with a top coat.
This method provides a strong and seamless repair that is virtually invisible. It’s one of the best ways on how to fix a cracked acrylic nail for a long-lasting solution.
Gel Polish Repair
If you have gel polish on your acrylic nails, you can use gel polish to repair the crack. This method is best suited for minor cracks.
- Prepare the Nail: Gently file the surface of the gel polish around the crack.
- Apply Gel Base Coat: Apply a thin layer of gel base coat over the cracked area.
- Cure Under UV/LED Lamp: Cure the base coat under a UV/LED lamp according to the manufacturer’s instructions.
- Apply Gel Polish: Apply a thin layer of gel polish over the base coat, covering the crack.
- Cure Again: Cure the gel polish under the UV/LED lamp.
- Repeat if Necessary: Repeat the application and curing process until the crack is completely covered.
- Apply Gel Top Coat: Finish with a layer of gel top coat and cure under the lamp.
This method is simple and effective for minor cracks, providing a smooth and durable finish. This is a less intensive way on how to fix a cracked acrylic nail.
Preventing Acrylic Nail Cracks
Prevention is always better than cure. Here are some tips to prevent acrylic nail cracks:
- Keep Your Nails Hydrated: Apply cuticle oil regularly to keep your nails and the surrounding skin hydrated.
- Avoid Harsh Chemicals: Wear gloves when working with harsh chemicals or cleaning products.
- Be Gentle: Avoid using your nails as tools to open packages or scrape surfaces.
- Regular Maintenance: Get your acrylic nails filled regularly to maintain their strength and integrity.
- Proper Application: Ensure your acrylic nails are applied correctly by a qualified nail technician.
When to Seek Professional Help
While you can repair minor cracks at home, some situations require professional attention. Seek help from a nail technician if:
- The crack is severe and extends deep into the natural nail.
- You experience pain, swelling, or signs of infection.
- You are unsure about the repair process and don’t want to risk further damage.
A professional nail technician can assess the damage and provide the best course of action to repair your acrylic nail and prevent further complications.
Choosing the Right Method
The best method for fixing a cracked acrylic nail depends on the severity of the crack and your skill level. For minor cracks, a tea bag or gel polish repair may suffice. For more significant cracks, an acrylic patch repair is recommended. Always prioritize safety and hygiene when repairing your nails to prevent infection.
Conclusion: Mastering the Art of Acrylic Nail Repair
Knowing how to fix a cracked acrylic nail is a valuable skill for anyone who loves acrylic nails. By following the methods outlined in this guide, you can effectively repair minor cracks and maintain the beauty of your nails. Remember to prioritize prevention and seek professional help when necessary to ensure the health and longevity of your acrylic nails. With the right techniques and a little practice, you can confidently tackle any nail emergency that comes your way. Maintaining the integrity of your acrylics is key, and understanding how to fix a cracked acrylic nail will keep your hands looking their best.
[See also: Acrylic Nail Application Tips]
[See also: How to Remove Acrylic Nails Safely]
[See also: The Best Nail Polish Colors for Acrylic Nails]
