
How to Drill Out a Stripped Screw: A Comprehensive Guide
Dealing with a stripped screw can be incredibly frustrating. Whether you’re working on a DIY project, repairing household items, or tackling automotive maintenance, a screw head that refuses to grip can bring your progress to a screeching halt. But don’t despair! Knowing how to drill out a stripped screw is a valuable skill that can save you time, money, and a whole lot of aggravation. This comprehensive guide provides a step-by-step approach to safely and effectively removing those stubborn fasteners. We’ll cover everything from identifying the problem to selecting the right tools and executing the extraction process. Mastering the art of how to drill out a stripped screw will empower you to overcome this common challenge and keep your projects on track. Let’s dive in and get those stripped screws out!
Understanding the Problem: Why Screws Strip
Before we delve into the solutions, it’s crucial to understand why screws strip in the first place. Several factors can contribute to this annoying issue:
- Overtightening: Applying excessive force while tightening a screw can damage the screw head and the surrounding material. This is especially common with power tools.
- Using the Wrong Screwdriver: Mismatching the screwdriver size or type to the screw head is a frequent culprit. Using a Phillips head screwdriver on a Pozidriv screw (or vice versa) will almost certainly lead to stripping.
- Soft Metal: Some screws are made from softer metals that are more prone to stripping than others.
- Corrosion: Rust and corrosion can weaken the screw head and make it more susceptible to stripping.
- Angle of Attack: Driving the screw in at an angle can put undue stress on the head, leading to premature failure.
Recognizing these causes can help you prevent screws from stripping in the future. [See also: Preventing Stripped Screws: Best Practices]
Gathering Your Tools and Materials
Successfully drilling out a stripped screw requires the right tools and materials. Here’s what you’ll need:
- Screw Extractor Set: This is the most crucial tool. Screw extractor sets typically include a variety of sizes to accommodate different screw diameters.
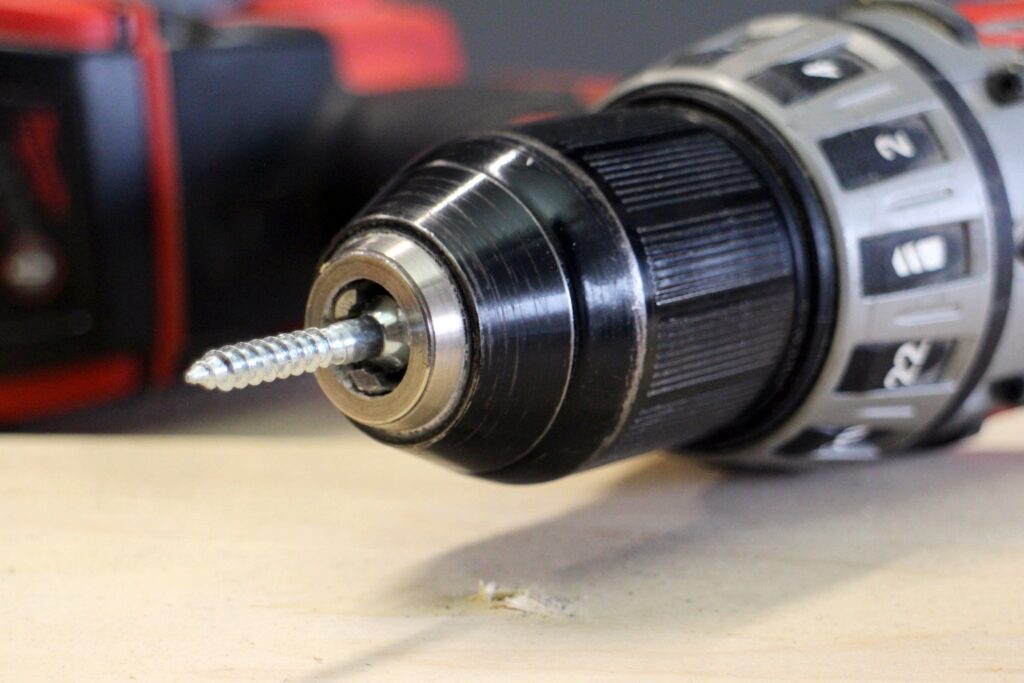
- Drill: A power drill is essential for creating a pilot hole and using the screw extractor. A cordless drill provides greater flexibility.
- Drill Bits: You’ll need a selection of drill bits, including bits that are slightly smaller than the screw extractor and a bit for creating a pilot hole if necessary.
- Center Punch and Hammer: These are used to create a starting point for the drill bit, preventing it from wandering.
- Penetrating Oil: Applying penetrating oil can help loosen the screw, especially if it’s corroded.
- Safety Glasses: Protecting your eyes from flying debris is paramount.
- Gloves: Gloves provide a better grip and protect your hands.
- Masking Tape: Masking tape can protect the surrounding surface from scratches.
Step-by-Step Guide: Drilling Out a Stripped Screw
Now that you have your tools and materials, let’s walk through the process of how to drill out a stripped screw:
Step 1: Prepare the Area
Start by cleaning the area around the stripped screw. Use masking tape to protect the surrounding surface from scratches and accidental damage from the drill. This small step can save you from unnecessary repairs later.
Step 2: Create a Pilot Hole (If Necessary)
If the screw head is severely stripped or if the screw is particularly hard, creating a pilot hole can make the extraction process easier. Use a center punch and hammer to create a small indentation in the center of the screw head. This will provide a starting point for the drill bit and prevent it from slipping. Then, using a small drill bit (slightly smaller than the screw extractor), carefully drill a pilot hole into the screw head. Apply light pressure and maintain a steady hand.
Step 3: Select the Correct Screw Extractor
Choose a screw extractor that is appropriately sized for the stripped screw. Most screw extractor sets come with a guide that indicates which extractor to use for different screw sizes. Using the wrong size extractor can damage the screw or the surrounding material.
Step 4: Insert the Screw Extractor
Insert the screw extractor into the drill chuck and tighten it securely. Make sure the extractor is properly aligned with the screw head to avoid damaging the extractor or the surrounding material.
Step 5: Extract the Screw
Set your drill to a slow, reverse setting. Carefully position the screw extractor on the stripped screw head. Apply gentle, consistent pressure and begin drilling. The screw extractor is designed to bite into the screw head as it turns in reverse. As the extractor grips, the screw should begin to turn and back out of the material. Be patient and avoid applying excessive force, as this can break the extractor or further damage the screw.
Step 6: Remove the Screw
Once the screw is loose enough, you should be able to remove it completely by hand or with pliers. If the screw is still stuck, try applying penetrating oil and repeating the extraction process.
Alternative Methods for Removing Stripped Screws
While using a screw extractor is often the most effective method, there are alternative approaches you can try:
- Rubber Band Trick: Place a wide rubber band over the stripped screw head and then insert your screwdriver. The rubber band can provide extra grip.
- Using a Dremel: If the screw head is protruding, you can use a Dremel tool with a cutting wheel to create a slot for a flathead screwdriver.
- Pliers or Vise-Grips: If the screw head is exposed, you may be able to grip it with pliers or vise-grips and turn it out.
These methods are not always successful, but they are worth trying before resorting to drilling out the screw. [See also: Alternative Screw Removal Techniques]
Preventing Stripped Screws in the Future
Prevention is always better than cure. Here are some tips to help you avoid stripping screws in the first place:
- Use the Correct Screwdriver: Always use the correct screwdriver size and type for the screw head.
- Apply Even Pressure: Apply even pressure while tightening screws. Avoid tilting the screwdriver.
- Avoid Overtightening: Be careful not to overtighten screws, especially when using power tools.
- Use Quality Screws: Invest in high-quality screws made from durable materials.
- Lubricate Screws: Applying a small amount of lubricant to the screw threads can make it easier to drive the screw and prevent stripping.
Troubleshooting Common Issues
Even with the best techniques, you may encounter some challenges when drilling out a stripped screw. Here are some common issues and how to address them:
- The Screw Extractor Breaks: If the screw extractor breaks, stop immediately. You may need to use a smaller extractor or try a different extraction method.
- The Drill Bit Wanders: If the drill bit is wandering, use a center punch to create a deeper indentation in the screw head.
- The Screw Won’t Budge: If the screw refuses to turn, apply penetrating oil and let it soak for a few minutes. You can also try tapping the screw head with a hammer to help loosen it.
Conclusion: Mastering Screw Extraction
Knowing how to drill out a stripped screw is an essential skill for any DIY enthusiast or professional. By following the steps outlined in this guide, you can confidently tackle even the most stubborn screws. Remember to prioritize safety, use the right tools, and be patient. With a little practice, you’ll be able to extract stripped screws with ease and keep your projects moving forward. The next time you encounter a frustrating stripped screw, don’t panic – you now have the knowledge and tools to conquer it. Good luck, and happy drilling!
