
How Do You Clean Your Computer Keyboard? A Comprehensive Guide
In today’s digital age, our computer keyboards are indispensable tools. From crafting important emails to writing lengthy reports, these devices endure constant use. But with frequent use comes the inevitable accumulation of dust, crumbs, and germs. Knowing how do you clean your computer keyboard is not just about aesthetics; it’s about hygiene and extending the lifespan of your valuable equipment. This comprehensive guide will walk you through the process of safely and effectively cleaning your keyboard, ensuring it remains a reliable and sanitary part of your workspace.
Why Cleaning Your Keyboard Matters
Before diving into the “how,” let’s address the “why.” Keyboards are breeding grounds for bacteria. Studies have shown that keyboards can harbor more germs than a public toilet seat. Regular cleaning helps prevent the spread of illness and keeps your workspace healthier. Furthermore, accumulated debris can interfere with the keyboard’s functionality. Sticky keys, unresponsive buttons, and general sluggishness can all be traced back to a dirty keyboard. Learning how do you clean your computer keyboard properly will improve performance and prevent future damage.
Essential Supplies for Cleaning Your Keyboard
Gathering the right tools is crucial for effective cleaning. Here’s a list of essential supplies:
- Compressed Air: This is your primary weapon against loose particles.
- Microfiber Cloths: These are gentle yet effective for wiping surfaces.
- Isopropyl Alcohol (70% or lower): A disinfectant that evaporates quickly.
- Cotton Swabs: Perfect for reaching tight spaces.
- Keycap Puller (Optional): Makes removing keycaps easier and safer.
- Small Brush (Optional): A soft-bristled brush can help loosen debris.
Step-by-Step Guide: How to Clean Your Computer Keyboard
Now, let’s get into the step-by-step process of how do you clean your computer keyboard:
Step 1: Power Down and Disconnect
The first and most important step is to disconnect your keyboard from your computer. If it’s a wired keyboard, unplug it. If it’s wireless, turn it off and remove the batteries. This prevents accidental keystrokes or electrical damage during the cleaning process.
Step 2: Turn It Upside Down and Shake
Hold your keyboard upside down over a trash can or a designated cleaning area. Gently shake it to dislodge any loose debris, such as crumbs, dust, and hair. You’d be surprised at what comes out!
Step 3: Blast with Compressed Air
Using compressed air, aim the nozzle at a slight angle and blast between the keys. Move the nozzle in a sweeping motion to dislodge any remaining particles. Pay particular attention to areas where debris tends to accumulate. This is a crucial step in learning how do you clean your computer keyboard effectively.
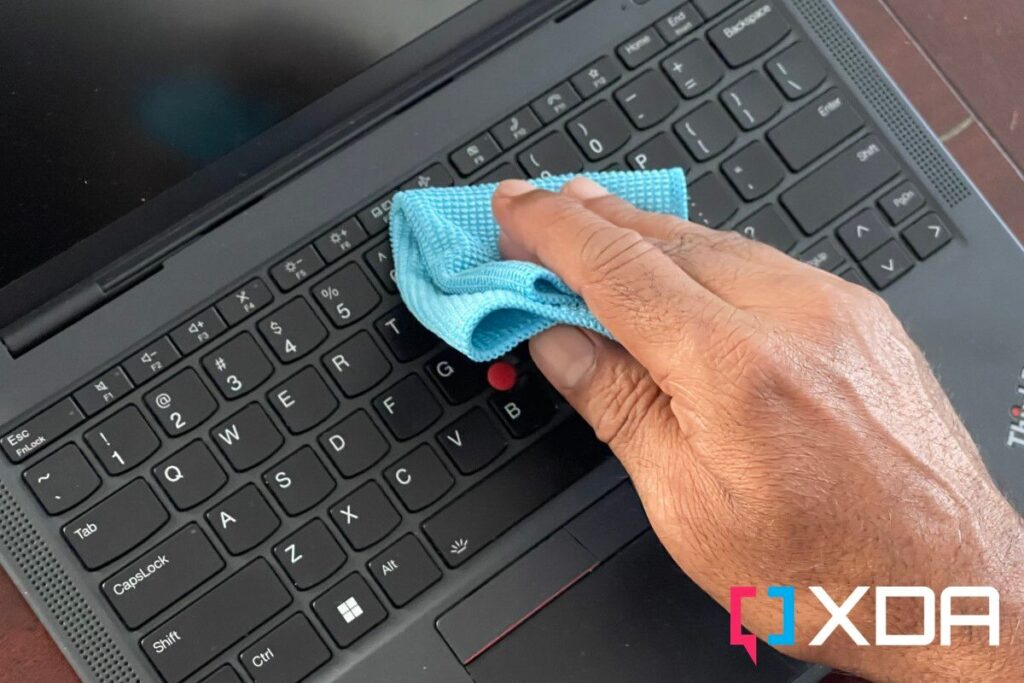
Step 4: Wipe Down the Surface
Dampen a microfiber cloth with isopropyl alcohol. Ensure the cloth is not soaking wet, as excess liquid can damage the keyboard. Gently wipe down the surface of the keys and the surrounding areas. This will remove any remaining dirt and grime. Remember to use circular motions to avoid smearing.
Step 5: Clean Individual Keys
For a deeper clean, use cotton swabs dipped in isopropyl alcohol to clean around each key. This is especially helpful for removing sticky residue or stubborn stains. Pay close attention to the edges and corners of the keys.
Step 6: Remove and Clean Keycaps (Optional)
If you want a truly thorough clean, you can remove the keycaps. Use a keycap puller to gently lift each keycap off the keyboard. Be careful not to force them, as this can damage the keycap or the keyboard mechanism. Once removed, you can wash the keycaps in warm, soapy water. Rinse them thoroughly and allow them to dry completely before reattaching them to the keyboard. This is an advanced technique for how do you clean your computer keyboard, but it yields excellent results.
Step 7: Reassemble and Test
Once everything is dry, reattach the keycaps (if you removed them). Ensure each keycap is properly aligned and securely fastened. Finally, reconnect your keyboard to your computer and test all the keys to ensure they are functioning correctly.
Specific Keyboard Types and Cleaning Considerations
The cleaning process may vary slightly depending on the type of keyboard you have.
Mechanical Keyboards
Mechanical keyboards are known for their durability and tactile feel. When cleaning a mechanical keyboard, be extra careful when removing and reattaching keycaps. The switches beneath the keycaps are sensitive and can be damaged if handled improperly. [See also: Best Mechanical Keyboards for Gamers]
Laptop Keyboards
Laptop keyboards are more delicate than standalone keyboards. Avoid using excessive liquid when cleaning a laptop keyboard, as it can seep into the internal components and cause damage. Instead, use a slightly dampened microfiber cloth and be extra cautious when cleaning around the keys. Knowing how do you clean your computer keyboard on a laptop without causing damage is critical.
Wireless Keyboards
As mentioned earlier, always disconnect or turn off the keyboard and remove the batteries before cleaning a wireless keyboard. This prevents accidental keystrokes and protects the keyboard from electrical damage.
Tips for Maintaining a Clean Keyboard
Prevention is always better than cure. Here are some tips for maintaining a clean keyboard and reducing the frequency of deep cleaning:
- Wash Your Hands Regularly: This is the simplest and most effective way to prevent the spread of germs to your keyboard.
- Avoid Eating or Drinking Near Your Keyboard: This minimizes the risk of spills and crumbs accumulating on your keyboard.
- Use a Keyboard Cover: A keyboard cover can protect your keyboard from dust, spills, and other debris.
- Regularly Wipe Down Your Keyboard: A quick wipe down with a microfiber cloth every few days can help prevent the buildup of dirt and grime.
Troubleshooting Common Keyboard Cleaning Issues
Even with the best intentions, you may encounter some issues during the cleaning process. Here are some common problems and how to address them:
- Sticky Keys: If your keys are still sticky after cleaning, try removing the keycaps and cleaning the switches beneath them with a cotton swab dipped in isopropyl alcohol.
- Unresponsive Keys: If a key is not working after cleaning, ensure the keycap is properly attached and that there is no debris obstructing the switch.
- Water Damage: If you accidentally spill liquid on your keyboard, immediately disconnect it and turn it upside down to drain any excess liquid. Allow it to dry completely before reconnecting it.
The Importance of Regular Keyboard Cleaning for Professionals
For professionals who rely on their computers for work, maintaining a clean keyboard is not just a matter of hygiene; it’s a matter of productivity and professionalism. A clean keyboard ensures smooth and efficient typing, reducing errors and improving overall workflow. Furthermore, a clean workspace reflects well on your professionalism and attention to detail. Understanding how do you clean your computer keyboard is an essential skill for any modern professional.
Conclusion: A Clean Keyboard is a Happy Keyboard
Cleaning your computer keyboard is a simple yet essential task that can improve your hygiene, extend the lifespan of your equipment, and enhance your productivity. By following the steps outlined in this guide, you can keep your keyboard clean, functional, and germ-free. So, the next time you find yourself wondering, “how do you clean your computer keyboard?”, remember this guide and take the time to give your keyboard the care it deserves. A clean keyboard is a happy keyboard, and a happy keyboard leads to a happier and more productive you. Consistent cleaning is the key to keeping your keyboard in top condition, so make it a regular part of your maintenance routine. [See also: Ergonomic Keyboard Guide]
