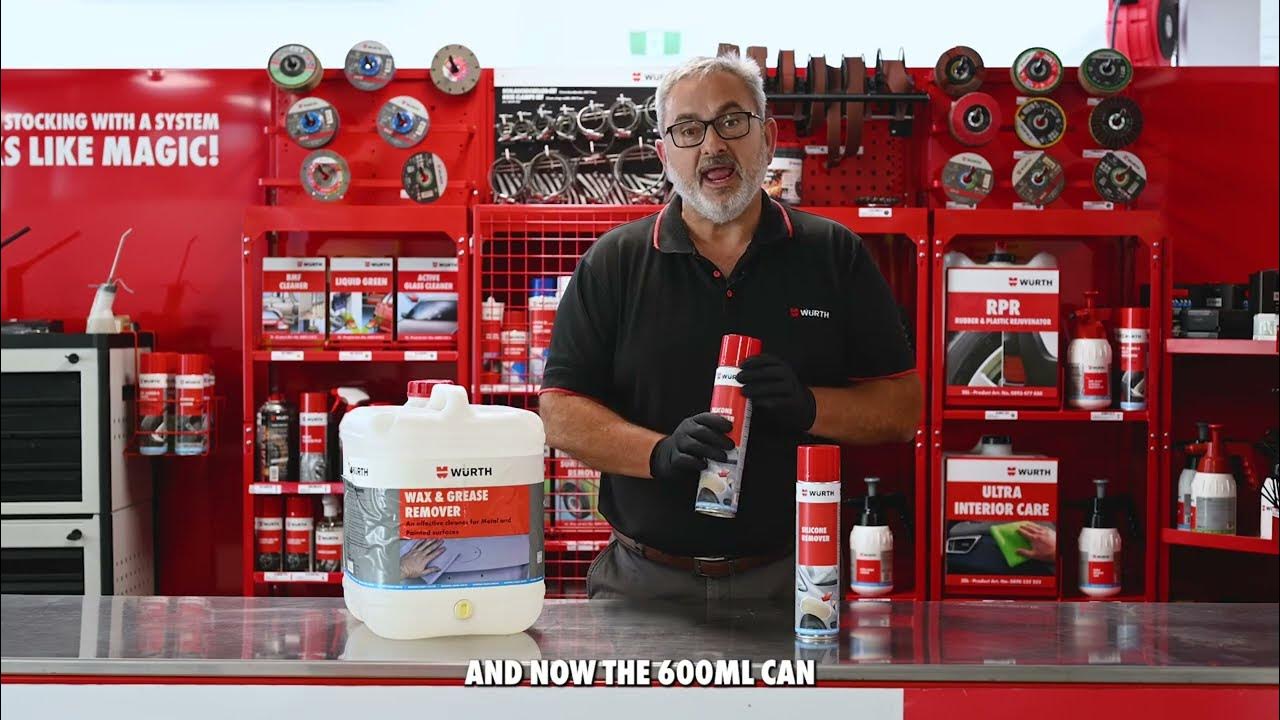

Effortless Cleanup: The Ultimate Guide to Silicone Remover Spray
Silicone is a versatile material used in a wide range of applications, from sealing bathtubs and windows to lubricating machinery. However, its tenacious nature can make removing it a real challenge. Enter silicone remover spray, a powerful tool designed to dissolve and lift away unwanted silicone residue. This comprehensive guide will delve into everything you need to know about silicone remover spray, including how it works, its various uses, safety precautions, and tips for achieving the best results. Whether you’re a seasoned DIY enthusiast or a first-time homeowner, understanding the ins and outs of silicone remover spray will undoubtedly save you time and frustration.
Understanding Silicone and Its Removal Challenges
Before we dive into the specifics of silicone remover spray, it’s essential to understand why silicone is so difficult to remove in the first place. Silicone polymers are cross-linked, creating a strong, flexible, and durable material. This cross-linking also makes it resistant to many solvents and cleaning agents. Traditional methods, such as scraping with a blade, can be time-consuming, messy, and potentially damaging to the underlying surface. This is where silicone remover spray comes in handy, offering a chemical solution to break down the silicone’s bonds.
How Silicone Remover Spray Works
Silicone remover spray typically contains a blend of solvents that are specifically formulated to attack the silicone polymer. These solvents penetrate the silicone, weakening its structure and causing it to swell and soften. This process makes it easier to scrape, wipe, or peel away the silicone from the surface. Different silicone remover spray products may use different solvent combinations, so it’s crucial to read the product label and instructions carefully before use. Some may be more effective on certain types of silicone or surfaces than others. [See also: Choosing the Right Sealant for Your Project]
Applications of Silicone Remover Spray
Silicone remover spray has a wide range of applications in both residential and commercial settings. Here are some common uses:
- Bathroom and Kitchen Fixtures: Removing old silicone caulk from around bathtubs, showers, sinks, and countertops. This is a common task when renovating or repairing these areas.
- Windows and Doors: Removing silicone sealant from windows and doors to replace damaged or aging seals.
- Automotive: Removing silicone-based adhesives and sealants from car parts and body panels.
- Industrial Applications: Cleaning silicone residue from machinery, molds, and other industrial equipment.
- DIY Projects: Removing excess silicone from various craft and home improvement projects.
The versatility of silicone remover spray makes it a valuable tool for anyone dealing with silicone residue.
Choosing the Right Silicone Remover Spray
With so many silicone remover spray products available on the market, it’s essential to choose the right one for your specific needs. Consider the following factors:
- Surface Compatibility: Ensure the product is compatible with the surface you’re cleaning. Some silicone remover sprays may damage certain materials, such as plastic or painted surfaces. Always test the product on a small, inconspicuous area first.
- Type of Silicone: Some silicone remover sprays are more effective on certain types of silicone than others. If you know the type of silicone you’re trying to remove, choose a product specifically designed for it.
- Ease of Use: Look for a silicone remover spray that is easy to apply and remove. Some products come with a nozzle for precise application, while others require soaking or extended dwell times.
- Safety: Choose a product with low VOCs (volatile organic compounds) and minimal odor. Always wear appropriate safety gear, such as gloves and eye protection, when using silicone remover spray.
- Reviews: Read online reviews and compare different products to see what other users have experienced. This can provide valuable insights into the effectiveness and ease of use of different silicone remover spray options.
Step-by-Step Guide to Using Silicone Remover Spray
Here’s a step-by-step guide to using silicone remover spray effectively:
- Prepare the Area: Clean the area around the silicone residue to remove any dirt, dust, or debris. This will help the silicone remover spray penetrate the silicone more effectively.
- Apply the Silicone Remover Spray: Shake the can of silicone remover spray well and apply it liberally to the silicone residue. Ensure the silicone is thoroughly saturated with the product.
- Allow Dwell Time: Let the silicone remover spray dwell for the recommended time specified on the product label. This is crucial for the solvents to break down the silicone’s bonds. Dwell times can vary from a few minutes to several hours, depending on the product and the thickness of the silicone.
- Scrape or Wipe Away the Silicone: After the dwell time, use a scraper, putty knife, or cloth to remove the softened silicone. Be careful not to damage the underlying surface. If the silicone is still difficult to remove, reapply the silicone remover spray and allow it to dwell for a longer period.
- Clean the Surface: Once the silicone is removed, clean the surface with a suitable cleaner to remove any remaining residue from the silicone remover spray. This will ensure a clean and smooth surface for applying new sealant or paint.
- Dispose of Waste Properly: Dispose of the used silicone and cleaning materials in accordance with local regulations. Some silicone remover spray products may be considered hazardous waste, so it’s essential to follow the proper disposal procedures.
Safety Precautions When Using Silicone Remover Spray
Silicone remover spray contains solvents that can be harmful if not used properly. Here are some essential safety precautions to follow:
- Ventilation: Use silicone remover spray in a well-ventilated area to avoid inhaling harmful fumes. Open windows and doors or use a fan to circulate air.
- Protective Gear: Wear gloves and eye protection to prevent skin and eye contact with the product. Some silicone remover sprays can cause irritation or burns.
- Flammability: Most silicone remover sprays are flammable. Keep them away from heat, sparks, and open flames. Do not smoke while using the product.
- Storage: Store silicone remover spray in a cool, dry place away from children and pets. Keep the container tightly closed when not in use.
- First Aid: If silicone remover spray comes into contact with skin or eyes, rinse immediately with plenty of water. If irritation persists, seek medical attention. If swallowed, do not induce vomiting and seek medical attention immediately.
By following these safety precautions, you can minimize the risks associated with using silicone remover spray.
Tips for Achieving the Best Results
Here are some additional tips for achieving the best results when using silicone remover spray:
- Test on an Inconspicuous Area: Before applying silicone remover spray to a large area, test it on a small, inconspicuous area to ensure it doesn’t damage the surface.
- Use the Right Tools: Use a scraper or putty knife made of plastic or nylon to avoid scratching the surface. Metal tools can damage delicate materials.
- Apply Multiple Coats: For thick or stubborn silicone residue, apply multiple coats of silicone remover spray and allow each coat to dwell for the recommended time.
- Use Heat: Applying heat to the silicone residue can help the silicone remover spray penetrate more effectively. Use a heat gun or hair dryer on a low setting, but be careful not to overheat the surface.
- Be Patient: Removing silicone can be a time-consuming process, especially if the residue is old or thick. Be patient and persistent, and you’ll eventually achieve the desired results.
Alternatives to Silicone Remover Spray
While silicone remover spray is a powerful tool, there are also some alternative methods for removing silicone residue. These include:
- Mechanical Removal: Using a sharp blade or scraper to carefully cut and peel away the silicone. This method can be effective for removing large pieces of silicone, but it requires precision and care to avoid damaging the surface.
- Solvents: Using solvents such as mineral spirits, acetone, or isopropyl alcohol to soften and dissolve the silicone. These solvents may not be as effective as silicone remover spray, but they can be useful for removing small amounts of residue.
- Vinegar: Soaking the silicone residue in vinegar can help to soften it and make it easier to remove. This method is less aggressive than using solvents or silicone remover spray, but it may be suitable for delicate surfaces.
The best method for removing silicone will depend on the type of silicone, the surface it’s on, and your personal preferences. [See also: Eco-Friendly Cleaning Solutions for Your Home]
Conclusion
Silicone remover spray is an indispensable tool for anyone dealing with unwanted silicone residue. By understanding how it works, its various applications, safety precautions, and tips for achieving the best results, you can effectively remove silicone from a variety of surfaces without causing damage. Whether you’re renovating your bathroom, repairing your car, or working on a DIY project, silicone remover spray will save you time, effort, and frustration. Remember to always prioritize safety and choose the right product for your specific needs. With the right approach, you can achieve a clean and professional finish every time. Don’t underestimate the power of a good silicone remover spray when tackling those sticky situations!
