
DIY Critter Fence: Protecting Your Garden the Frugal Way
Gardening can be a rewarding experience, providing fresh produce and beautiful flowers. However, the joy can quickly turn to frustration when critters invade, feasting on your hard-earned harvest. Constructing a DIY critter fence is a cost-effective and customizable solution to protect your garden from unwanted guests. This article will guide you through the process of building your own DIY critter fence, offering various options and considerations to suit your specific needs and budget. We’ll explore the different materials you can use, the construction techniques involved, and the factors to consider for optimal effectiveness. Building a DIY critter fence isn’t just about saving money; it’s about taking control of your garden’s security and ensuring a bountiful yield free from the nibbling of unwelcome visitors. With a little planning and effort, you can create a sturdy barrier that keeps pests out and your plants thriving.
Why Build a DIY Critter Fence?
Investing in a DIY critter fence offers several advantages over commercial options. The primary benefit is cost savings. Pre-fabricated fences can be expensive, especially for larger gardens. A DIY approach allows you to source materials from local hardware stores or even repurpose existing materials, significantly reducing expenses. Furthermore, a DIY critter fence can be tailored to your specific garden layout and the types of critters you’re trying to deter. Standard fences may not be effective against all pests, while a custom-built fence can address your unique challenges. The satisfaction of building something yourself and knowing exactly what went into its construction is another considerable perk.
Planning Your DIY Critter Fence
Before you start hammering and digging, careful planning is essential. Consider the following factors:
- Identify the Pests: What critters are you trying to keep out? Rabbits, squirrels, deer, groundhogs, and raccoons all require different fence heights and designs. For example, a low fence with small mesh will deter rabbits, while a taller fence is necessary for deer.
- Garden Size and Layout: Measure the perimeter of your garden to determine the amount of fencing material needed. Consider any gates or access points you’ll need to include.
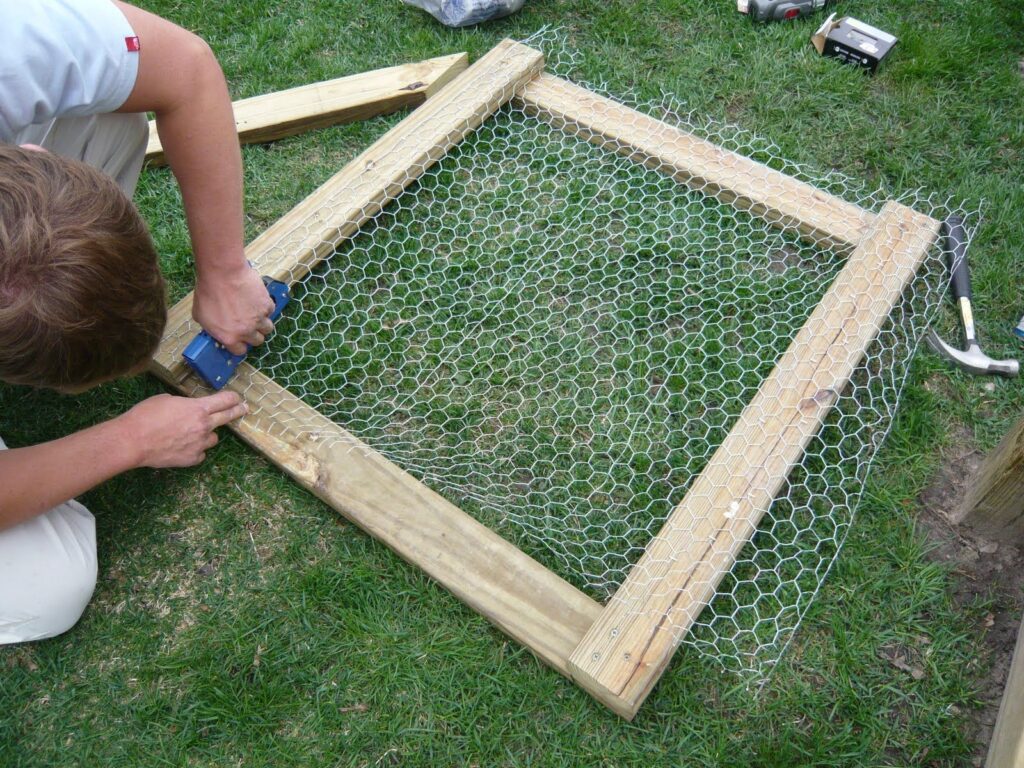
- Material Selection: Choose materials that are durable, weather-resistant, and appropriate for the target pests. Common options include chicken wire, hardware cloth, wood, and metal posts.
- Budget: Set a budget for your project and research the cost of different materials. Look for ways to save money by repurposing materials or buying in bulk.
- Local Regulations: Check with your local municipality for any regulations regarding fence height or placement.
Choosing the Right Materials for Your Critter Fence
The effectiveness of your DIY critter fence depends largely on the materials you choose. Here’s a breakdown of common options:
Fencing Material
- Chicken Wire: A lightweight and inexpensive option, chicken wire is suitable for deterring small animals like rabbits and chickens. However, it’s not very durable and can be easily damaged by larger animals.
- Hardware Cloth: Hardware cloth is a stronger and more durable alternative to chicken wire. It features a tighter mesh that can keep out a wider range of pests, including squirrels and groundhogs. Look for galvanized hardware cloth to prevent rust.
- Deer Netting: Lightweight and virtually invisible, deer netting is an effective way to protect your garden from deer. It’s easy to install and doesn’t obstruct sunlight.
- Wood: Wood fences offer a more traditional and aesthetically pleasing option. They can be built to any height and provide excellent protection against a variety of pests. However, wood fences require more maintenance and can be more expensive than other options.
- Electric Fencing: For serious pest problems, consider adding an electric fence to your DIY critter fence. A low-voltage shock will deter animals from approaching the fence. This is especially effective against deer and raccoons.
Posts
- Wood Posts: Wooden posts are a classic choice for fences. They are strong and durable, but require treatment to prevent rot.
- Metal Posts: Metal posts are a more durable and low-maintenance option. They are easy to install and can withstand harsh weather conditions.
- T-Posts: T-posts are a common choice for wire fences. They are inexpensive and easy to drive into the ground.
Fasteners
- Staples: Use fence staples to attach wire fencing to wooden posts.
- Zip Ties: Zip ties are a quick and easy way to attach fencing to metal posts.
- Wire: Use wire to tie fencing sections together or to secure fencing to posts.
Building Your DIY Critter Fence: Step-by-Step Guide
Here’s a general guide to building a basic DIY critter fence. Adapt these steps to your specific materials and garden layout.
- Mark the Fence Line: Use stakes and string to mark the perimeter of your fence.
- Install the Posts: Dig holes for the posts at regular intervals (typically 6-8 feet apart). Set the posts in the holes and fill with concrete or tamped soil. Ensure the posts are plumb (vertically straight).
- Attach the Fencing: Once the posts are secure, attach the fencing material to the posts. Use staples for wooden posts, zip ties for metal posts, or wire to tie the fencing to the posts.
- Bury the Bottom of the Fence: To prevent animals from digging under the fence, bury the bottom edge of the fencing at least 6 inches deep. You can also extend the fencing outwards at a 90-degree angle to create a “skirt” that deters digging.
- Add a Gate: Construct a gate using similar materials as the fence. Ensure the gate is secure and closes tightly to prevent animals from entering the garden.
- Reinforce Weak Points: Identify any potential weak points in the fence, such as corners or areas where the ground is uneven. Reinforce these areas with additional support or fencing material.
Specific DIY Critter Fence Designs
Rabbit Fence
A rabbit fence needs to be low to the ground and have a small mesh size. Use chicken wire or hardware cloth with a mesh size of 1 inch or less. The fence should be at least 2 feet high, with the bottom edge buried at least 6 inches deep. Adding a skirt extending outwards from the base of the fence is highly recommended.
Deer Fence
Deer are excellent jumpers, so a deer fence needs to be tall. A fence at least 8 feet high is generally recommended. Deer netting is a popular choice for deer fences because it’s lightweight and relatively inexpensive. You can also use a traditional wooden or wire fence, but it needs to be tall and sturdy. Another option is a slanted deer fence, where the fence is angled outwards at a 45-degree angle. This design makes it difficult for deer to jump over.
Squirrel Fence
Squirrels are agile climbers, so a squirrel fence needs to be difficult to climb. Hardware cloth with a small mesh size is a good choice. The fence should be at least 4 feet high and extend underground a few inches to prevent digging. You can also add a smooth, overhanging barrier at the top of the fence to prevent squirrels from climbing over.
Maintaining Your DIY Critter Fence
Regular maintenance is essential to ensure the long-term effectiveness of your DIY critter fence. Inspect the fence regularly for any damage, such as holes, tears, or loose posts. Repair any damage promptly to prevent critters from entering the garden. Trim any vegetation that is growing near the fence, as this can provide a pathway for animals to climb over. Check the gate regularly to ensure it is closing properly. With proper care and maintenance, your DIY critter fence will provide years of reliable protection for your garden.
Troubleshooting Common Critter Fence Problems
Even with careful planning and construction, you may encounter some challenges with your DIY critter fence. Here are some common problems and how to address them:
- Animals Digging Under the Fence: Bury the bottom edge of the fence deeper or add a skirt extending outwards from the base of the fence.
- Animals Climbing Over the Fence: Increase the height of the fence or add an overhanging barrier at the top.
- Fence Damage: Repair any holes or tears in the fence promptly. Reinforce weak points with additional support.
- Gate Problems: Ensure the gate is closing properly and is securely latched.
The Satisfaction of a Protected Garden
Building a DIY critter fence is a rewarding project that provides tangible benefits. Not only will you save money compared to buying a pre-fabricated fence, but you’ll also have the satisfaction of knowing you built something yourself that protects your garden and ensures a bountiful harvest. With careful planning, the right materials, and a little elbow grease, you can create a durable and effective DIY critter fence that keeps unwanted pests out and your plants thriving. Remember to tailor your design to the specific critters in your area and adapt the construction techniques to your garden’s unique layout. A well-built DIY critter fence is an investment in your garden’s future, providing peace of mind and a flourishing landscape for years to come. The joy of harvesting vegetables untouched by pests is a reward well worth the effort. Consider adding companion planting within your fenced area to further deter pests naturally. [See also: Companion Planting Guide] Building a DIY critter fence is more than just a project; it’s a commitment to sustainable gardening and a celebration of resourcefulness.
