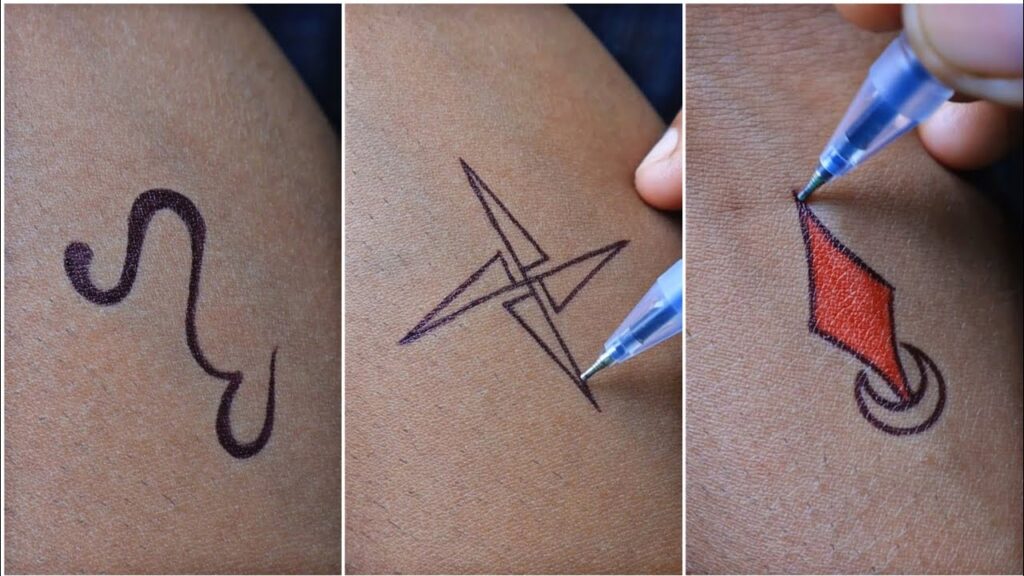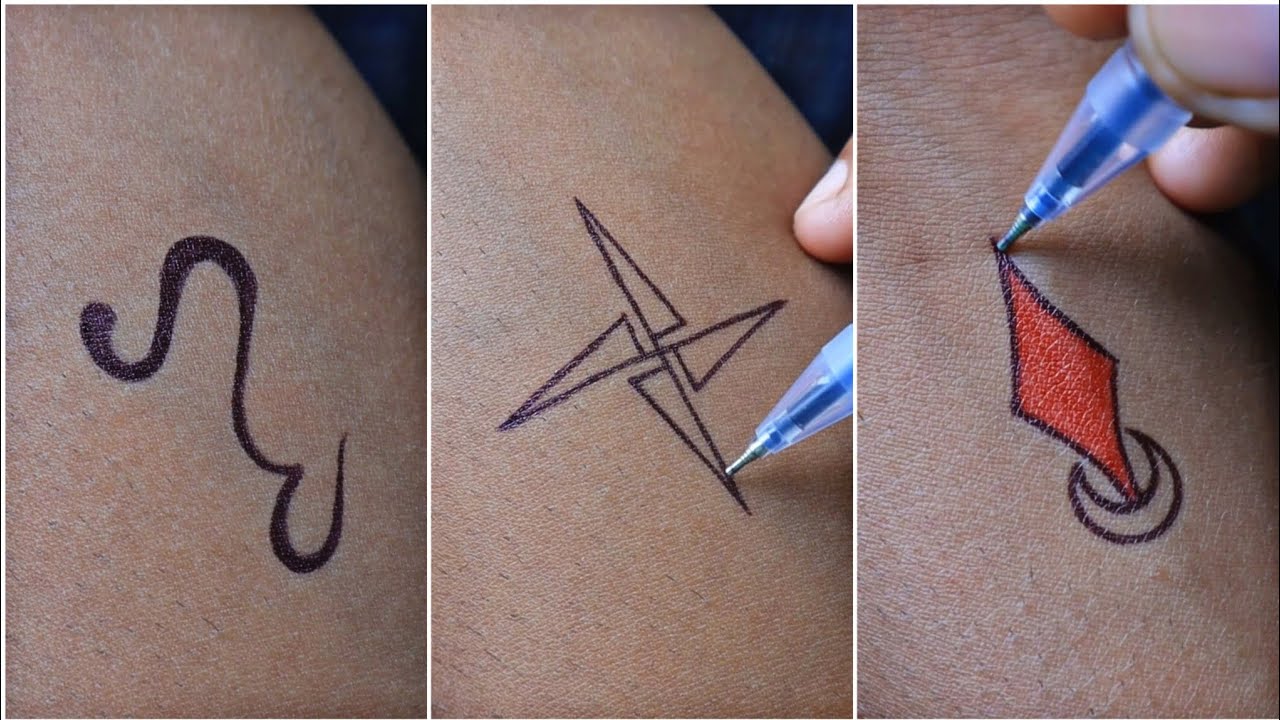
Design Temporary Tattoos: A Comprehensive Guide to Creating Your Own
Temporary tattoos have evolved from simple childhood novelties to sophisticated forms of self-expression and artistic experimentation. Whether you’re looking to test out a design before committing to permanent ink, create a unique accessory for a special event, or simply enjoy the freedom of changing your look on a whim, designing your own temporary tattoos offers a creative and affordable solution. This guide provides a comprehensive overview of how to design temporary tattoos, covering everything from choosing the right materials to applying your finished artwork.
Understanding Temporary Tattoo Options
Before diving into the design process, it’s crucial to understand the different types of temporary tattoos available. The most common types include:
- Decal Tattoos: These are the traditional rub-on tattoos, consisting of a design printed on special paper with an adhesive backing. They are easy to apply and remove, making them ideal for short-term use.
- Henna Tattoos: Henna is a natural dye derived from the henna plant. It creates a reddish-brown stain on the skin that can last for several weeks. While traditional henna is safe, black henna, which contains a chemical dye called paraphenylenediamine (PPD), can cause severe allergic reactions and should be avoided.
- Jagua Tattoos: Jagua is another natural dye, derived from a tropical fruit. It produces a dark blue or black stain on the skin, offering a temporary alternative to permanent black tattoos.
- Airbrush Tattoos: These are applied using an airbrush and temporary tattoo ink. They can last for several days and offer a wide range of colors and designs.
This guide will focus primarily on designing temporary tattoos using decal paper, as it’s the most accessible and versatile option for home use.
Materials You’ll Need to Design Temporary Tattoos
To design temporary tattoos at home, you’ll need the following materials:
- Temporary Tattoo Paper: This specialized paper consists of two sheets: a printable sheet and an adhesive sheet. It’s readily available online and in craft stores.
- Inkjet or Laser Printer: The type of printer you need depends on the type of temporary tattoo paper you choose. Inkjet paper is generally more affordable, while laser printer paper tends to produce more durable tattoos.
- Design Software: You’ll need a software program to create or edit your tattoo designs. Options include Adobe Photoshop, GIMP (a free alternative to Photoshop), or even simple drawing programs like Microsoft Paint.
- Scissors or Cutting Machine: To cut out your finished tattoo design. A cutting machine like a Cricut or Silhouette can provide more precise cuts, especially for intricate designs.
- Damp Cloth or Sponge: For applying the tattoo to your skin.
Step-by-Step Guide to Designing Your Own Temporary Tattoos
Choosing Your Design
The first step in designing temporary tattoos is to choose a design that you love. Consider the following factors:
- Personal Style: What kind of designs resonate with you? Are you drawn to minimalist patterns, intricate illustrations, or bold graphics?
- Placement: Where do you plan to apply the tattoo? The size and shape of your design should be appropriate for the chosen area.
- Complexity: Simple designs are generally easier to apply and tend to last longer. Intricate designs may require more precision and care.
You can find inspiration for your designs online, in books, or even in everyday objects. Once you have a clear idea of what you want, you can start creating your design digitally.
Creating Your Design Digitally
Using your chosen design software, create a new document with the correct dimensions for your temporary tattoo paper. Keep the following tips in mind:
- Resolution: Use a high resolution (at least 300 DPI) to ensure that your design is sharp and clear when printed.
- Color Mode: Set your color mode to CMYK, which is the standard for printing.
- Mirror Image: Remember to mirror your design horizontally before printing. This is essential because the tattoo will be applied upside down to the skin.
- Black and White vs. Color: Consider whether you want a black and white or color tattoo. Black and white designs are generally easier to print and tend to look more realistic.
- Adding Text: If your design includes text, make sure it’s legible and appropriately sized.
Once you’ve finished creating your design, save it as a high-resolution image file (e.g., JPEG or PNG).
Printing Your Design
Load your temporary tattoo paper into your printer according to the manufacturer’s instructions. Before printing your final design, it’s a good idea to print a test page on regular paper to ensure that your printer settings are correct.
When you’re ready to print your tattoo design, select the appropriate paper type in your printer settings. Print your design in the highest possible quality setting.
Applying the Adhesive Sheet
After printing, carefully peel off the backing from the adhesive sheet. Align the adhesive sheet with your printed design and gently press it down, smoothing out any air bubbles. This step is crucial for ensuring that the tattoo transfers properly to your skin.
Cutting Out Your Tattoo
Using scissors or a cutting machine, carefully cut out your tattoo design, leaving a small border around the edges. This will make it easier to apply the tattoo to your skin.
Applying Your Temporary Tattoo
To apply your temporary tattoo, follow these steps:
- Clean and dry the area of skin where you want to apply the tattoo.
- Peel off the clear plastic sheet from the front of the tattoo.
- Place the tattoo face down on your skin.
- Press a damp cloth or sponge firmly against the back of the tattoo for 20-30 seconds.
- Gently peel off the paper backing.
Your temporary tattoo should now be transferred to your skin. Avoid touching or rubbing the tattoo for a few minutes to allow it to fully set.
Tips for Making Your Temporary Tattoos Last Longer
While temporary tattoos are designed to be temporary, there are several things you can do to extend their lifespan:
- Apply to Clean, Dry Skin: Make sure your skin is free of oils, lotions, and makeup before applying the tattoo.
- Avoid Friction: Minimize rubbing or friction in the area where the tattoo is applied.
- Avoid Water: Prolonged exposure to water can cause the tattoo to fade or peel off. Avoid swimming, showering, or soaking in the bath.
- Use Talcum Powder: Applying a light dusting of talcum powder over the tattoo can help to absorb moisture and prevent it from smudging.
- Apply Hairspray: A light spritz of hairspray can help to seal the tattoo and protect it from wear and tear.
Removing Your Temporary Tattoo
When you’re ready to remove your temporary tattoo, you can use the following methods:
- Baby Oil or Olive Oil: Apply baby oil or olive oil to the tattoo and let it sit for a few minutes. Then, gently rub the tattoo with a cloth or sponge until it comes off.
- Rubbing Alcohol: Soak a cotton ball in rubbing alcohol and gently rub the tattoo until it dissolves.
- Adhesive Tape: Place a piece of adhesive tape over the tattoo and gently peel it off. Repeat as needed.
Safety Considerations
While temporary tattoos are generally safe, it’s important to be aware of potential risks:
- Allergic Reactions: Some people may be allergic to the adhesives or inks used in temporary tattoos. If you experience any redness, itching, or swelling, remove the tattoo immediately and consult a doctor.
- Black Henna: As mentioned earlier, avoid black henna tattoos, as they can cause severe allergic reactions and permanent scarring.
- Sun Sensitivity: Some temporary tattoo inks may make your skin more sensitive to the sun. Apply sunscreen to the area where the tattoo is applied.
The Future of Temporary Tattoo Design
The technology behind designing temporary tattoos is constantly evolving. New materials and techniques are emerging, offering even more possibilities for creative expression. From customizable temporary tattoos that can be controlled with a smartphone app to biodegradable tattoo inks that are environmentally friendly, the future of temporary tattoo design is bright.
Conclusion
Designing temporary tattoos is a fun and rewarding way to express your creativity and experiment with different looks. By following the steps outlined in this guide, you can create your own unique temporary tattoos that are safe, affordable, and stylish. So, unleash your inner artist and start designing temporary tattoos today! Remember to always prioritize safety and choose high-quality materials to ensure the best possible results. Whether you’re creating a statement piece for a special occasion or simply adding a touch of whimsy to your everyday look, temporary tattoos offer a versatile and exciting way to showcase your personal style.
[See also: How to Apply Temporary Tattoos]
[See also: Best Temporary Tattoo Designs]
[See also: Temporary Tattoos: Safety and Precautions]

