The Ultimate Guide to Cleaning Bath Sealant and Preventing Mold
Bath sealant, that unsung hero of your bathroom, works tirelessly to keep water where it belongs – inside the tub and shower. But over time, this crucial barrier can become a breeding ground for unsightly mold and mildew, diminishing its effectiveness and aesthetics. Cleaning bath sealant regularly is essential not only for hygiene but also for extending its lifespan and preventing costly water damage. This comprehensive guide will walk you through everything you need to know about cleaning bath sealant, from identifying the problem to implementing preventative measures.
Why Cleaning Bath Sealant Matters
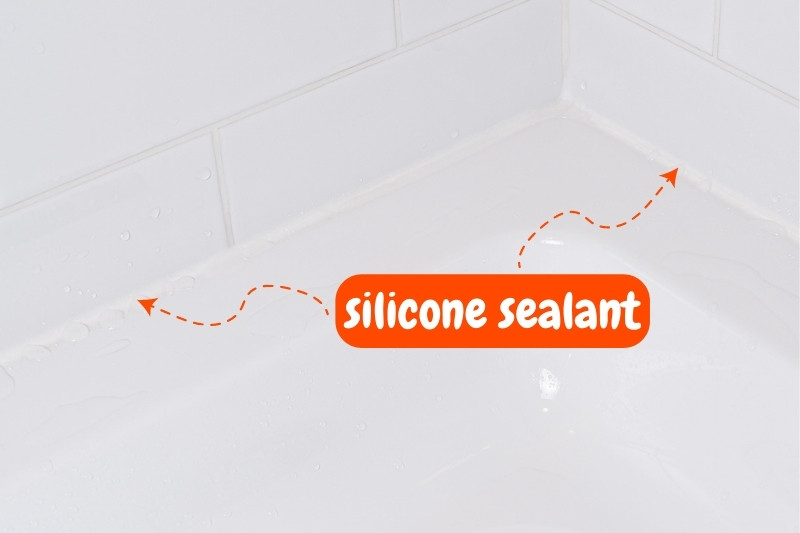
Bath sealant, typically silicone or caulk, is applied to the joints between your bathtub or shower and the surrounding walls or floor. Its primary function is to create a watertight seal, preventing water from seeping into the subfloor and wall cavities. Without proper sealant, water can lead to:
- Mold and mildew growth
- Rotting wood
- Damaged drywall
- Structural issues
- Costly repairs
Regularly cleaning bath sealant not only prevents these problems but also keeps your bathroom looking its best. Neglecting sealant can lead to stubborn stains, discoloration, and eventually, sealant failure. Replacing sealant can be a messy and time-consuming task, so preventative cleaning is always the best approach. Ignoring the need for cleaning bath sealant can lead to much bigger problems.
Identifying Problems with Your Bath Sealant
Before you start cleaning, it’s important to assess the condition of your bath sealant. Look for the following signs:
- Discoloration: Pink, black, or green stains indicate mold or mildew growth.
- Cracking or peeling: This means the sealant is losing its elasticity and water can penetrate.
- Soft or mushy texture: This indicates water damage beneath the sealant.
- Gaps or separation from the surface: This creates an entry point for water.
If you notice any of these issues, it’s crucial to address them promptly. Minor discoloration can often be cleaned effectively, but significant damage may require sealant replacement. Don’t postpone cleaning bath sealant if you see early signs of trouble.
Tools and Materials for Cleaning Bath Sealant
Gather these essential tools and materials before you begin cleaning bath sealant:
- Spray bottle: For applying cleaning solutions.
- Scrub brush or old toothbrush: For scrubbing stubborn stains.
- Microfiber cloths: For wiping surfaces clean.
- Vinegar: A natural and effective cleaning agent.
- Baking soda: For creating a paste to remove tough stains.
- Bleach: Use with caution for severe mold (see safety precautions below).
- Hydrogen peroxide: A milder alternative to bleach.
- Protective gloves: To protect your hands from cleaning solutions.
- Eye protection: To prevent splashes from entering your eyes.
- Old cloths or paper towels: For soaking up excess moisture.
Cleaning Bath Sealant: Step-by-Step Guide
Follow these steps for effective cleaning bath sealant:
Step 1: Prepare the Area
Clear the area around the bath sealant. Remove any bath mats, shower curtains, or personal care items. Ensure the area is well-ventilated by opening a window or turning on the exhaust fan.
Step 2: Apply Cleaning Solution
Choose your cleaning solution based on the severity of the staining. For mild stains, a solution of equal parts white vinegar and water is often effective. For tougher stains, create a paste of baking soda and water. For severe mold, use a diluted bleach solution (1 part bleach to 10 parts water). Always wear gloves and eye protection when handling bleach. Spray the chosen solution onto the affected sealant.
Step 3: Let the Solution Sit
Allow the cleaning solution to sit on the sealant for 10-15 minutes. This gives the solution time to penetrate the stains and kill any mold or mildew. For baking soda paste, you can let it sit for up to 30 minutes.
Step 4: Scrub the Sealant
Use a scrub brush or old toothbrush to scrub the sealant thoroughly. Pay particular attention to areas with heavy staining or mold growth. Apply firm, even pressure to remove the stains. If you are cleaning bath sealant with a brush, be careful not to damage the sealant itself.
Step 5: Rinse and Dry
Rinse the sealant thoroughly with clean water to remove all traces of the cleaning solution. Use a microfiber cloth to dry the sealant completely. Moisture can promote mold growth, so it’s important to ensure the area is dry.
Step 6: Repeat if Necessary
If the stains persist, repeat the cleaning process. For stubborn stains, you may need to use a stronger cleaning solution or allow the solution to sit for a longer period. However, avoid using harsh chemicals that could damage the sealant.
Natural Cleaning Solutions for Bath Sealant
If you prefer to avoid harsh chemicals, consider these natural alternatives for cleaning bath sealant:
- Vinegar: As mentioned earlier, vinegar is a natural disinfectant and effective cleaning agent.
- Baking Soda: Baking soda is a mild abrasive that can help remove stains and deodorize.
- Hydrogen Peroxide: Hydrogen peroxide is a natural bleaching agent that can help lighten stains.
- Tea Tree Oil: Tea tree oil has antifungal and antibacterial properties. Dilute a few drops in water and spray on the sealant.
Safety Precautions When Cleaning Bath Sealant
When cleaning bath sealant, especially with bleach or other chemicals, take these safety precautions:
- Wear protective gloves and eye protection.
- Ensure adequate ventilation. Open windows or use an exhaust fan.
- Never mix bleach with ammonia or other cleaning products. This can create toxic fumes.
- Keep cleaning solutions out of reach of children and pets.
- Rinse surfaces thoroughly after cleaning.
Preventing Mold and Mildew on Bath Sealant
Prevention is key to keeping your bath sealant clean and mold-free. Here are some tips to prevent mold and mildew growth:
- Ventilate your bathroom: Always use the exhaust fan or open a window after showering or bathing.
- Dry surfaces: Wipe down the sealant and surrounding surfaces after each use.
- Use a squeegee: A squeegee can help remove excess water from the shower walls and sealant.
- Regularly clean your bathroom: Clean your bathroom at least once a week to prevent mold and mildew buildup.
- Consider using a mold-resistant sealant: When replacing sealant, opt for a product specifically designed to resist mold and mildew.
When to Replace Bath Sealant
Even with regular cleaning, bath sealant will eventually need to be replaced. If you notice significant cracking, peeling, or water damage, it’s time to replace the sealant. [See also: How to Replace Bath Sealant] Replacing sealant is a relatively straightforward DIY project, but if you’re not comfortable doing it yourself, you can hire a professional.
The Importance of Regular Maintenance
Cleaning bath sealant is an essential part of bathroom maintenance. By following the tips in this guide, you can keep your sealant clean, prevent mold and mildew growth, and extend its lifespan. Regular maintenance not only keeps your bathroom looking its best but also protects your home from costly water damage. Don’t underestimate the importance of this simple task! Proper cleaning bath sealant will save you time and money in the long run.
Conclusion
Maintaining a clean and healthy bathroom involves more than just scrubbing the tiles and cleaning the toilet. Paying attention to your bath sealant and implementing a regular cleaning routine is crucial for preventing mold, protecting your home from water damage, and ensuring a hygienic environment. So, grab your cleaning supplies and start cleaning bath sealant today! Your bathroom – and your wallet – will thank you for it. Remember, preventing problems is always easier than fixing them. A little effort in cleaning bath sealant goes a long way.
