Sanding Acrylic Paint: A Comprehensive Guide for a Flawless Finish
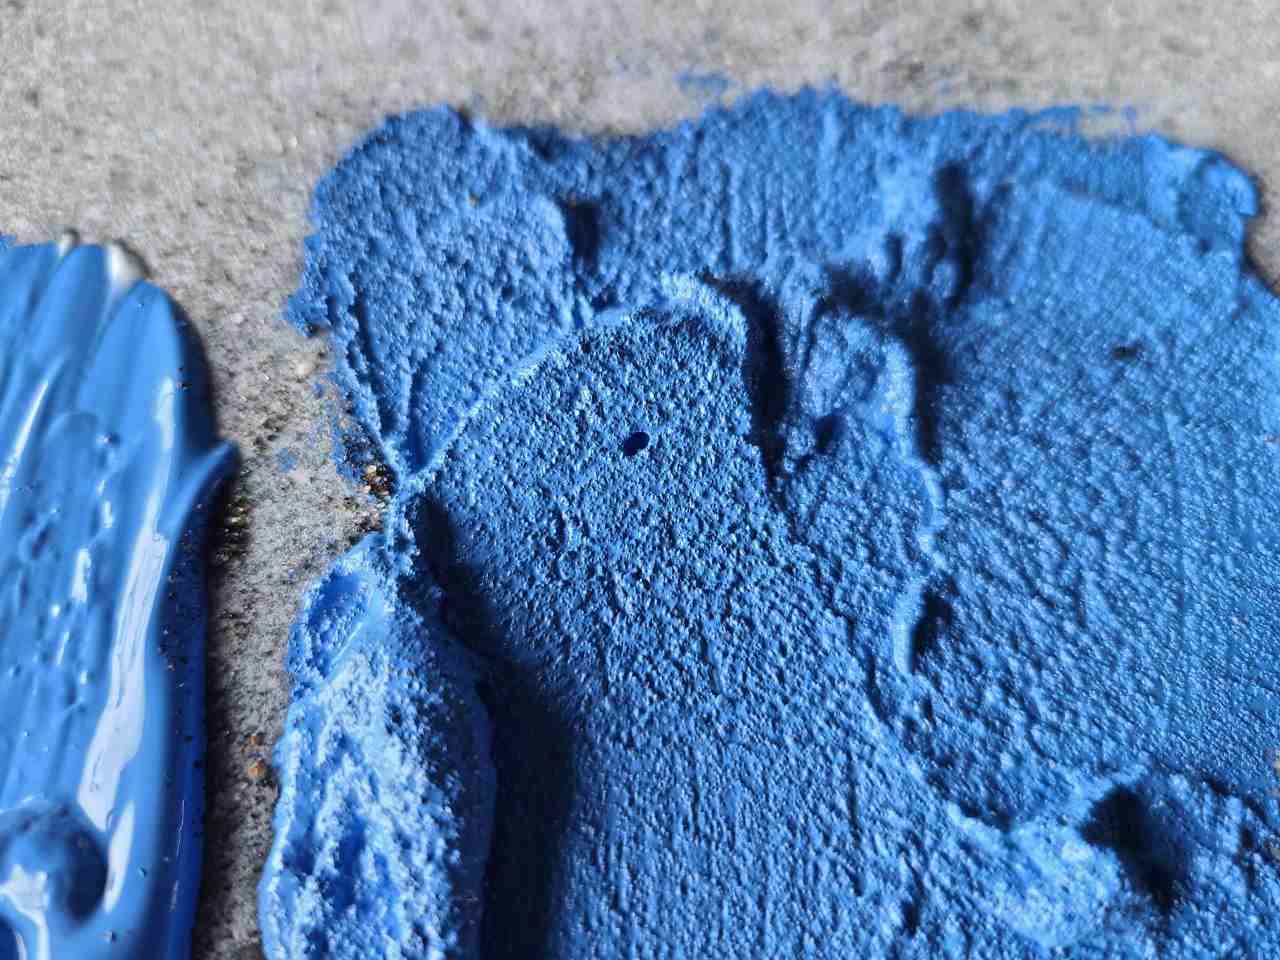
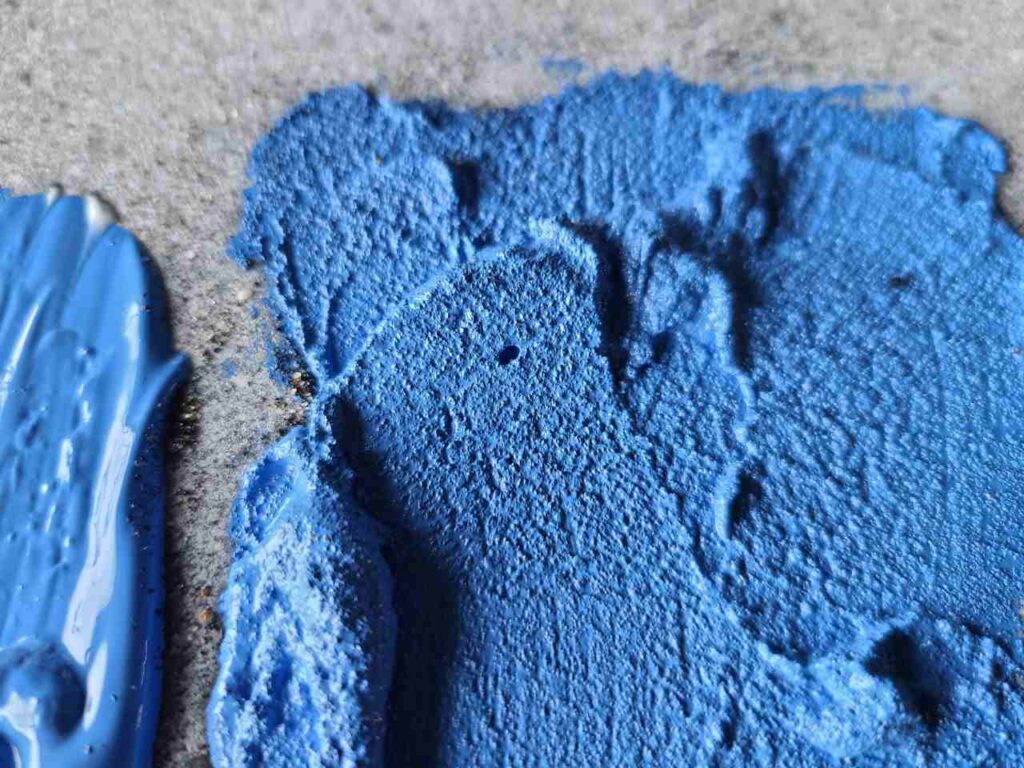
Achieving a smooth, professional finish with acrylic paint often requires more than just applying the paint itself. Sanding acrylic paint is a crucial step in preparing surfaces and correcting imperfections, ultimately leading to a superior final product. Whether you’re a seasoned artist, a dedicated DIY enthusiast, or just starting out with acrylics, understanding the nuances of sanding acrylic paint will significantly improve your results. This comprehensive guide will walk you through the tools, techniques, and best practices for sanding acrylic paint effectively.
Why Sand Acrylic Paint?
Sanding acrylic paint serves several important purposes:
- Smoothing Imperfections: Acrylic paint can sometimes exhibit brushstrokes, drips, or other surface irregularities. Sanding helps to level these imperfections, creating a smooth base for subsequent coats.
- Improving Adhesion: Sanding creates a slightly textured surface, which enhances the adhesion of the next layer of paint or varnish. This is particularly important when applying multiple coats of acrylic paint or when using a topcoat.
- Correcting Mistakes: Did you apply too much paint? Did you make a color mistake? Sanding acrylic paint can help you remove layers of paint and start over.
- Creating Special Effects: In some artistic applications, sanding can be used to create unique textures or distressed finishes.
Tools and Materials for Sanding Acrylic Paint
Before you begin sanding acrylic paint, gather the necessary tools and materials:
- Sandpaper: Choose a variety of grits, ranging from coarse (e.g., 120-grit) for removing significant imperfections to fine (e.g., 320-grit or higher) for smoothing the surface. Consider using wet/dry sandpaper for wet sanding techniques.
- Sanding Block or Pad: A sanding block or pad provides a flat, even surface for the sandpaper, ensuring consistent pressure and preventing uneven sanding.
- Water (for Wet Sanding): Water acts as a lubricant, reducing friction and preventing the sandpaper from clogging with paint dust.
- Tack Cloth or Microfiber Cloth: Use a tack cloth or microfiber cloth to remove dust particles from the surface after sanding.
- Safety Glasses and Dust Mask: Protect your eyes and respiratory system from dust particles by wearing safety glasses and a dust mask.
- Optional: Liquid sanding deglosser, for preparing the surface before painting.
Choosing the Right Sandpaper Grit
Selecting the appropriate sandpaper grit is crucial for achieving the desired results. Here’s a general guideline:
- Coarse Grit (80-120): Used for removing significant imperfections, such as thick drips or heavy brushstrokes. Use with caution, as it can easily scratch the surface.
- Medium Grit (150-180): Ideal for leveling the surface and removing minor imperfections. This is a good starting point for most sanding acrylic paint projects.
- Fine Grit (220-320): Used for smoothing the surface and preparing it for the next coat of paint or varnish.
- Very Fine Grit (360-400): Used for creating an ultra-smooth finish and for wet sanding.
- Ultra-Fine Grit (600+): Used for polishing and achieving a high-gloss finish.
Dry Sanding vs. Wet Sanding Acrylic Paint
There are two primary methods for sanding acrylic paint: dry sanding and wet sanding. Each method has its advantages and disadvantages.
Dry Sanding
Dry sanding involves using sandpaper without any lubricant. It’s a quicker and simpler method, but it can generate a lot of dust and may clog the sandpaper more easily.
Pros:
- Faster and more convenient
- No need for water or other lubricants
Cons:
- Generates a lot of dust
- Sandpaper can clog easily
- May produce scratches if not done carefully
Wet Sanding
Wet sanding involves using water as a lubricant. It reduces friction, minimizes dust, and helps to prevent the sandpaper from clogging. Wet sanding typically produces a smoother finish than dry sanding.
Pros:
- Reduces dust
- Prevents sandpaper from clogging
- Produces a smoother finish
Cons:
- More time-consuming
- Requires water and a clean-up process
Step-by-Step Guide to Sanding Acrylic Paint
Here’s a step-by-step guide to sanding acrylic paint, whether you choose dry or wet sanding:
- Prepare the Surface: Ensure that the acrylic paint is completely dry before sanding. Drying times can vary depending on the type of paint and the environmental conditions. Clean the surface with a tack cloth or microfiber cloth to remove any loose dirt or debris.
- Choose the Appropriate Grit: Start with a coarser grit if you need to remove significant imperfections. Otherwise, begin with a medium grit.
- Attach Sandpaper to Sanding Block: Wrap the sandpaper around a sanding block or pad, ensuring that it’s securely attached.
- Sand the Surface: Apply gentle, even pressure and sand in a consistent direction. Avoid pressing too hard, as this can create uneven sanding marks. Overlap each stroke slightly to ensure that the entire surface is sanded evenly.
- For Wet Sanding: Dip the sandpaper or the surface in water periodically to keep it lubricated. Wipe away excess water with a clean cloth.
- Change Sandpaper Grit: As you progress, switch to finer grits of sandpaper to smooth the surface further.
- Remove Dust: After each sanding session, remove dust particles with a tack cloth or microfiber cloth.
- Inspect the Surface: Carefully inspect the surface for any remaining imperfections. If necessary, repeat the sanding acrylic paint process.
- Clean the Surface: Once you’re satisfied with the smoothness of the surface, clean it thoroughly with a tack cloth or microfiber cloth to remove all dust and debris.
Tips for Successful Sanding Acrylic Paint
Here are some additional tips to help you achieve the best results when sanding acrylic paint:
- Use Light Pressure: Avoid pressing too hard, as this can create uneven sanding marks and damage the surface.
- Sand in a Consistent Direction: Sanding in a consistent direction helps to create a smoother finish.
- Change Sandpaper Frequently: As sandpaper becomes clogged or worn, it loses its effectiveness. Replace it with a fresh piece to maintain optimal sanding performance.
- Work in a Well-Ventilated Area: Sanding can generate dust particles that can be harmful to your health. Work in a well-ventilated area or wear a dust mask to protect your respiratory system.
- Test in an Inconspicuous Area: Before sanding the entire surface, test the technique and sandpaper grit in an inconspicuous area to ensure that you’re achieving the desired results.
- Patience is Key: Sanding acrylic paint can be a time-consuming process, but it’s important to be patient and take your time to achieve a smooth, flawless finish.
Troubleshooting Common Sanding Problems
Even with careful technique, you may encounter some common problems when sanding acrylic paint. Here are some troubleshooting tips:
- Scratches: If you’re seeing scratches on the surface, you may be using too coarse of a sandpaper grit or applying too much pressure. Switch to a finer grit and use a lighter touch.
- Uneven Sanding: Uneven sanding can result from using a worn-out sanding block or pad, applying uneven pressure, or sanding in inconsistent directions. Ensure that your sanding block is in good condition, apply even pressure, and sand in a consistent direction.
- Clogged Sandpaper: Clogged sandpaper can occur when sanding dry acrylic paint. Wet sanding can help to prevent this problem. You can also clean the sandpaper with a wire brush or sandpaper cleaner.
- Paint Peeling: If the paint is peeling, it may not be properly adhered to the surface. Ensure that the surface is properly prepared before painting, and use a primer if necessary.
Applications of Sanding Acrylic Paint
Sanding acrylic paint is useful across a wide array of applications, from fine art to home improvement projects.
- Fine Art: Artists use sanding to create smooth surfaces for detailed paintings, or to create textured and distressed effects.
- Model Making: Model builders use sanding to smooth imperfections in plastic or resin models before painting.
- Furniture Refinishing: Sanding acrylic paint is crucial for refinishing furniture, ensuring a smooth base for new paint or stain.
- Automotive Painting: In automotive painting, sanding prepares surfaces for primer and paint, ensuring a flawless finish.
- DIY Projects: From crafting to home decor, sanding enhances the appearance and durability of acrylic-painted projects.
Conclusion
Sanding acrylic paint is an essential skill for anyone working with acrylics. By understanding the tools, techniques, and best practices outlined in this guide, you can achieve a smooth, professional finish on your projects. Whether you’re smoothing imperfections, improving adhesion, or creating special effects, sanding acrylic paint will elevate the quality of your work. Remember to choose the right sandpaper grit, use light pressure, and work in a well-ventilated area. With practice and patience, you’ll master the art of sanding acrylic paint and achieve flawless results every time. [See also: Choosing the Right Acrylic Paint for Your Project] and [See also: Acrylic Painting Techniques for Beginners].
