
How to Fix a Door Seal: A Comprehensive Guide to Preventing Drafts and Damage
A compromised door seal can lead to a multitude of problems, ranging from energy inefficiency and uncomfortable drafts to potential water damage and pest intrusion. Understanding how to fix a door seal is a vital skill for any homeowner or property manager. This comprehensive guide will walk you through identifying issues, gathering necessary tools, and implementing effective solutions to restore your door’s protective barrier.
Why Fixing a Door Seal is Important
Ignoring a damaged or worn-out door seal can result in several negative consequences:
- Increased Energy Bills: Gaps in the seal allow heated or cooled air to escape, forcing your HVAC system to work harder and consume more energy.
- Drafts and Discomfort: Cold drafts in winter and hot air in summer can make your home less comfortable.
- Water Damage: A faulty seal can allow rainwater to seep into your home, potentially causing damage to floors, walls, and furniture.
- Pest Infestation: Gaps provide easy access for insects, rodents, and other pests.
- Noise Pollution: A proper door seal helps to dampen outside noise, creating a quieter and more peaceful indoor environment.
Identifying Door Seal Problems
Before you can fix a door seal, you need to accurately identify the problem. Common issues include:
- Visible Cracks or Tears: Inspect the seal for any signs of physical damage.
- Hardening or Brittleness: Over time, the seal material can become hard and brittle, losing its flexibility and effectiveness.
- Gaps Between the Door and Frame: Visually check for gaps where air or light can pass through.
- Drafts: Feel for drafts around the door, especially on windy days.
- Water Leaks: Look for signs of water damage around the door frame or on the floor near the door.
Tools and Materials Needed
The tools and materials you’ll need will depend on the type of repair you’re performing. However, some common items include:
- New Door Seal: Purchase a replacement seal that matches the type and size of your existing seal. Common types include foam, rubber, and silicone.
- Utility Knife or Scissors: For cutting the new seal to the correct length.
- Measuring Tape: To accurately measure the door and seal.
- Screwdriver: If the seal is attached with screws.
- Adhesive: Some seals require adhesive for installation. Choose an adhesive suitable for the seal material and the door frame.
- Cleaning Supplies: A clean cloth and all-purpose cleaner to prepare the surface.
- Caulk (Optional): To seal any small gaps or cracks.
- Heat Gun or Hair Dryer (Optional): To soften hardened seals for easier removal.
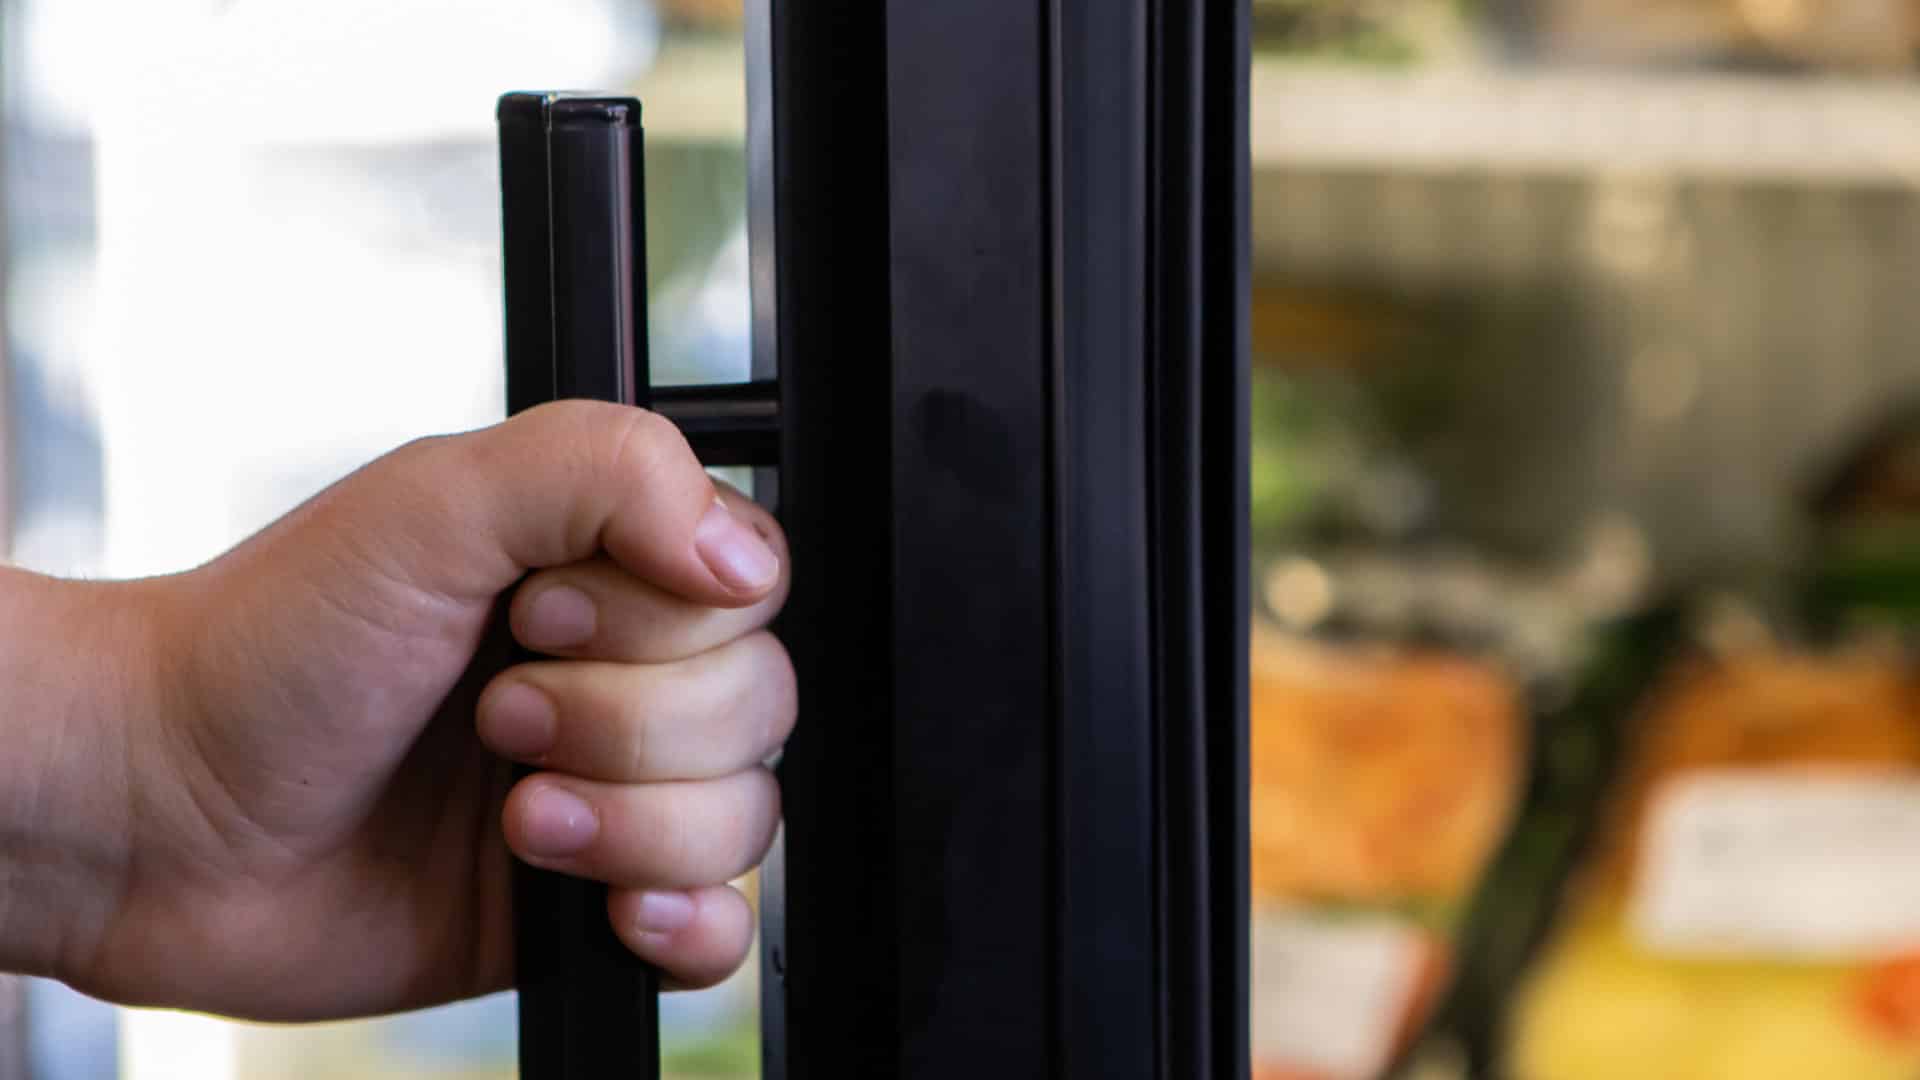
Steps to Fix a Door Seal
Here’s a step-by-step guide on how to fix a door seal:
Step 1: Remove the Old Seal
Carefully remove the old door seal. If it’s attached with screws, use a screwdriver to remove them. If it’s glued, you may need to use a utility knife to carefully cut the adhesive. A heat gun or hair dryer can help soften hardened seals for easier removal. Be careful not to damage the door frame during this process.
Step 2: Clean the Surface
Thoroughly clean the area where the new seal will be installed. Remove any dirt, debris, or old adhesive. Use an all-purpose cleaner and a clean cloth to ensure a clean, smooth surface. This will help the new seal adhere properly.
Step 3: Measure and Cut the New Seal
Measure the length of the area where the seal will be installed. Use a measuring tape to get accurate measurements. Cut the new door seal to the correct length using a utility knife or scissors. It’s always better to cut it slightly longer than necessary; you can always trim it down later.
Step 4: Install the New Seal
Install the new door seal according to the manufacturer’s instructions. If the seal has an adhesive backing, peel off the backing and carefully press the seal into place. If the seal requires adhesive, apply a thin, even layer of adhesive to the surface and then press the seal into place. If the seal is attached with screws, align the seal and tighten the screws. Make sure the seal is properly aligned and securely attached.
Step 5: Test the Seal
Close the door and check for any gaps. Feel for drafts around the door. If you find any gaps, you may need to adjust the seal or add additional adhesive or caulk. Make sure the door closes and latches properly after installing the new seal. If the door is difficult to close, the seal may be too thick and require adjustment.
Different Types of Door Seals and How to Fix Them
Different types of door seals require slightly different approaches to repair:
Foam Seals
Foam seals are often used for their affordability and ease of installation. However, they tend to wear out more quickly than other types of seals. To fix a door seal made of foam, simply remove the old seal and replace it with a new one. Foam seals typically have an adhesive backing for easy installation.
Rubber Seals
Rubber seals are more durable than foam seals and provide a better seal against air and water. To fix a door seal made of rubber, follow the steps outlined above. Pay close attention to the type of adhesive required for rubber seals, as some adhesives can damage the rubber.
Silicone Seals
Silicone seals are the most durable and weather-resistant type of door seal. They are often used in high-traffic areas or in areas with extreme weather conditions. To fix a door seal made of silicone, follow the steps outlined above. Silicone seals typically require a special silicone adhesive for installation.
Door Sweeps
Door sweeps are attached to the bottom of the door and help to seal the gap between the door and the threshold. To fix a door seal that is a door sweep, you may need to adjust the height of the sweep or replace it entirely. Door sweeps are typically attached with screws.
Preventative Maintenance for Door Seals
To extend the life of your door seals and prevent future problems, consider these preventative maintenance tips:
- Regular Cleaning: Clean your door seals regularly with a mild soap and water solution. This will remove dirt and debris that can cause the seal to deteriorate.
- Inspect Regularly: Inspect your door seals regularly for any signs of damage or wear. Catching problems early can prevent them from becoming more serious.
- Lubricate: Apply a silicone-based lubricant to your door seals periodically to keep them flexible and prevent them from drying out.
- Replace When Necessary: Don’t wait until your door seals are completely damaged before replacing them. Replacing them proactively can save you money on energy bills and prevent other problems.
Troubleshooting Common Door Seal Problems
Even with careful installation and maintenance, you may encounter some common problems with your door seals:
- Seal Doesn’t Adhere Properly: Make sure the surface is clean and dry before applying the seal. Use a high-quality adhesive recommended for the seal material.
- Gaps Remain After Installation: Double-check the measurements and ensure the seal is properly aligned. You may need to add additional adhesive or caulk to fill any remaining gaps.
- Door is Difficult to Close: The seal may be too thick. Try using a thinner seal or adjusting the door frame.
- Seal Deteriorates Quickly: Choose a higher-quality seal material that is more resistant to weather and wear.
When to Call a Professional
While many door seal repairs can be handled as DIY projects, there are times when it’s best to call a professional. If you’re not comfortable working with tools or adhesives, or if you’re dealing with a complex door seal issue, it’s best to consult with a qualified contractor. A professional can accurately diagnose the problem and provide effective solutions.
Properly maintaining and knowing how to fix a door seal is crucial for home energy efficiency and protection. By following this guide, you can ensure your doors are effectively sealed, saving you money and keeping your home comfortable for years to come. Remember to regularly inspect and maintain your seals for optimal performance.
[See also: How to Insulate Your Home for Winter]
[See also: Common Causes of Drafty Doors and Windows]
[See also: DIY Home Weatherization Tips]
