How to Clean a Gas Cap with WD-40: A Comprehensive Guide
A sticky or malfunctioning gas cap can be a real headache. Not only can it make refueling a hassle, but it can also trigger your car’s check engine light. One common culprit behind a stubborn gas cap is dirt and grime buildup. Fortunately, cleaning a gas cap with WD-40 is a simple and effective solution that can often resolve the issue. This guide will walk you through the process step-by-step, ensuring your gas cap is clean and functioning correctly. We will explore the benefits of using WD-40, offer alternative cleaning methods, and provide tips for preventing future problems. Keeping your gas cap clean is essential for maintaining your vehicle’s fuel system and preventing potentially costly repairs.
Why Clean Your Gas Cap?
Before we dive into the cleaning process, let’s understand why a clean gas cap is crucial. The gas cap serves several vital functions:
- Sealing the Fuel System: The primary role of the gas cap is to create an airtight seal for your fuel tank. This prevents fuel vapors from escaping into the atmosphere, which is both environmentally harmful and can reduce fuel efficiency.
- Maintaining Fuel Pressure: A properly sealed gas cap helps maintain the correct pressure within the fuel system. This is essential for optimal engine performance and fuel delivery.
- Preventing Contamination: The gas cap also keeps dirt, debris, and moisture from entering the fuel tank. Contaminants can clog fuel filters, damage fuel injectors, and cause engine problems.
A dirty or damaged gas cap can compromise these functions, leading to:
- Check Engine Light: A loose or faulty gas cap is a common reason for the check engine light to illuminate. The car’s computer detects a pressure leak in the fuel system and triggers the warning.
- Reduced Fuel Efficiency: Leaking fuel vapors can decrease your car’s gas mileage.
- Fuel System Damage: Contaminants entering the fuel tank can cause significant damage to the fuel system components.
Materials You’ll Need
To clean your gas cap with WD-40, you’ll need the following materials:
- WD-40: This multi-purpose lubricant and cleaner is ideal for removing dirt, grime, and rust from the gas cap.
- Clean Rags or Paper Towels: Use these to wipe away dirt and excess WD-40.
- Small Brush (Optional): A small brush, like a toothbrush or parts cleaning brush, can help scrub away stubborn grime.
- Gloves (Optional): Wearing gloves will protect your hands from dirt and chemicals.
Step-by-Step Guide: Cleaning Your Gas Cap with WD-40
Follow these steps to effectively clean your gas cap:
- Remove the Gas Cap: Carefully unscrew the gas cap from your vehicle’s fuel filler neck.
- Inspect the Gas Cap: Examine the gas cap for any visible signs of damage, such as cracks, tears, or a worn-out rubber seal. If the gas cap is damaged, it may need to be replaced rather than cleaned.
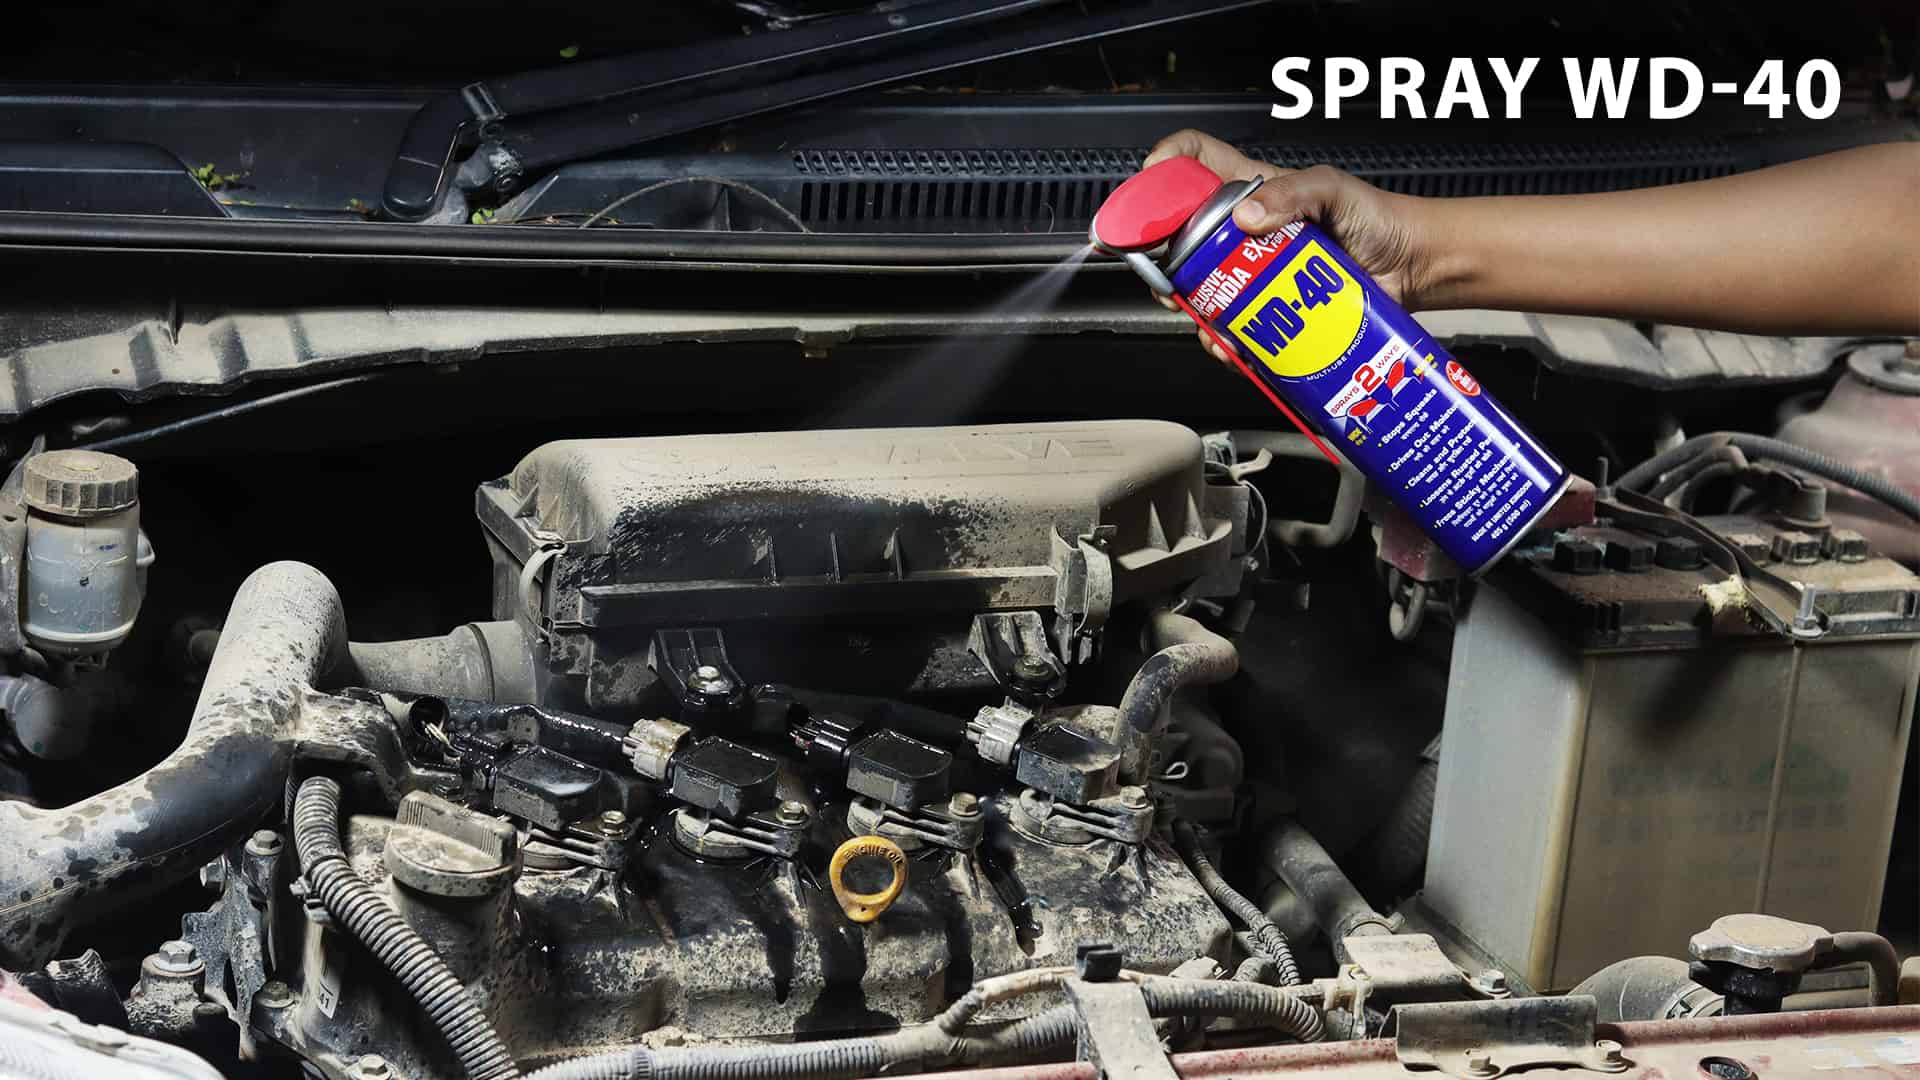
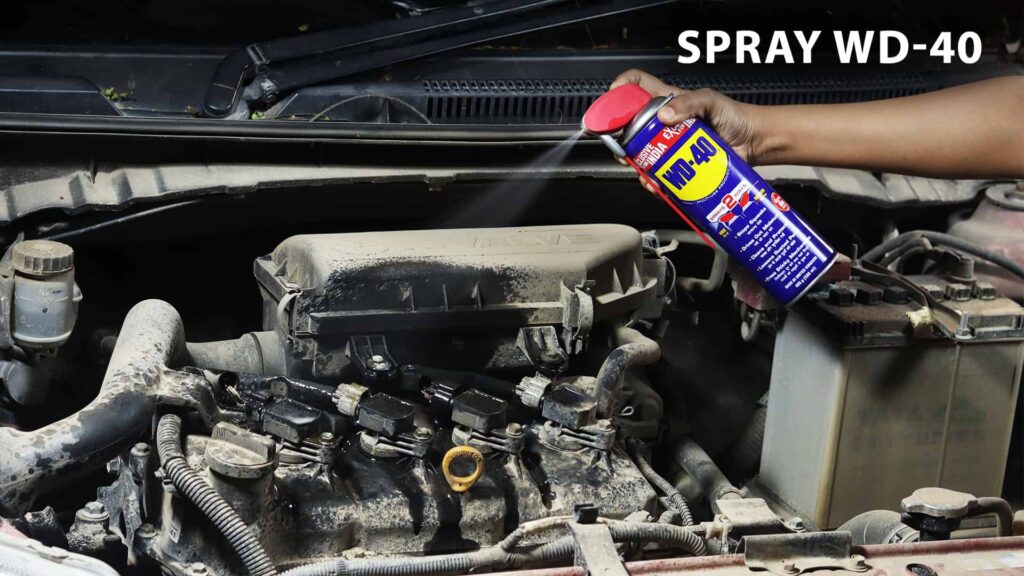
- Apply WD-40: Spray a generous amount of WD-40 onto the gas cap, focusing on the threads, the rubber seal (if present), and any areas with visible dirt or grime.
- Let it Soak: Allow the WD-40 to soak for a few minutes. This will help loosen the dirt and grime, making it easier to remove.
- Scrub the Gas Cap: Use a clean rag or a small brush to scrub the gas cap, paying close attention to the threads and the rubber seal. Remove any visible dirt, grime, or rust.
- Wipe Clean: Wipe the gas cap thoroughly with a clean rag or paper towel to remove any remaining WD-40 and loosened debris.
- Inspect Again: Re-inspect the gas cap to ensure it is clean and free of any remaining dirt or grime.
- Reinstall the Gas Cap: Carefully screw the gas cap back onto your vehicle’s fuel filler neck until it clicks into place.
Alternative Cleaning Methods
While WD-40 is an excellent option for cleaning a gas cap, other cleaning methods can also be effective:
- Soap and Water: For light dirt and grime, you can use a mild soap and water solution. Simply wash the gas cap with soapy water, rinse it thoroughly, and dry it completely before reinstalling.
- Brake Cleaner: Brake cleaner is a powerful degreaser that can remove stubborn dirt and grease. However, use it with caution, as it can damage certain types of rubber or plastic. Always test it on a small, inconspicuous area first.
- Carburetor Cleaner: Similar to brake cleaner, carburetor cleaner is a strong solvent that can effectively clean a gas cap. Use it sparingly and with proper ventilation.
Preventing Future Problems
To prevent future gas cap problems, consider the following tips:
- Regular Inspections: Periodically inspect your gas cap for any signs of damage or wear.
- Proper Tightening: Always tighten the gas cap until it clicks into place. This ensures a proper seal.
- Avoid Over-Tightening: Over-tightening the gas cap can damage the threads and the rubber seal.
- Keep the Fuel Filler Area Clean: Avoid spilling fuel around the fuel filler neck, as this can attract dirt and grime.
- Replace When Necessary: If your gas cap is damaged or worn out, replace it promptly. A new gas cap is relatively inexpensive and can prevent more costly repairs down the road.
Troubleshooting Common Gas Cap Issues
Even after cleaning, you might still encounter some gas cap-related issues. Here’s how to troubleshoot them:
- Check Engine Light Still On: If the check engine light remains on after cleaning the gas cap, try resetting the light by disconnecting the car battery for a few minutes. If the light persists, there may be another issue with the fuel system. Consult a mechanic.
- Gas Cap Won’t Tighten: If the gas cap won’t tighten properly, the threads on the cap or the fuel filler neck may be damaged. Inspect both for damage and replace the affected part.
- Gas Cap is Stuck: If the gas cap is stuck, try applying WD-40 around the threads and gently wiggling the cap back and forth. If it still won’t budge, consult a mechanic.
The Importance of a Properly Functioning Gas Cap
Maintaining a properly functioning gas cap is essential for your vehicle’s overall health and performance. A clean and well-sealed gas cap prevents fuel leaks, maintains fuel pressure, and protects the fuel system from contaminants. By following the steps outlined in this guide, you can easily clean your gas cap with WD-40 and prevent potential problems. Remember to inspect your gas cap regularly and replace it when necessary. A small investment in gas cap maintenance can save you from costly repairs in the long run. Don’t underestimate the importance of a simple gas cap. Cleaning a **gas cap with WD-40** is a quick and easy task that can have a significant impact on your vehicle’s performance. If you’ve noticed your check engine light on, or experienced reduced fuel efficiency, inspecting and cleaning your **gas cap with WD-40** should be one of the first things you do. A faulty **gas cap** can lead to fuel evaporation, which is not only bad for the environment but also wastes your money. Regularly cleaning your **gas cap** can help prevent these issues. Using **WD-40** to clean your **gas cap** is a cost-effective solution compared to replacing the entire unit. Remember to always properly tighten the **gas cap** after refueling to ensure a proper seal. Over time, the **gas cap** can accumulate dirt and debris, so cleaning it periodically is essential. Even a small amount of grime on the **gas cap** can compromise its seal. The **gas cap** is a small but crucial component of your vehicle’s fuel system. When cleaning the **gas cap with WD-40**, make sure to focus on the threads and the rubber seal. A clean **gas cap** contributes to better fuel economy and reduced emissions. Don’t forget to inspect the **gas cap** for any signs of damage before cleaning it with **WD-40**. If the **gas cap** is cracked or broken, it needs to be replaced. Cleaning your **gas cap with WD-40** is a simple preventative measure that can save you money and headaches. This guide should provide you with all the information you need to effectively clean your **gas cap** and keep it in good working order. [See also: How to Replace a Gas Cap] [See also: Understanding Your Car’s Fuel System] [See also: How to Diagnose a Check Engine Light]
